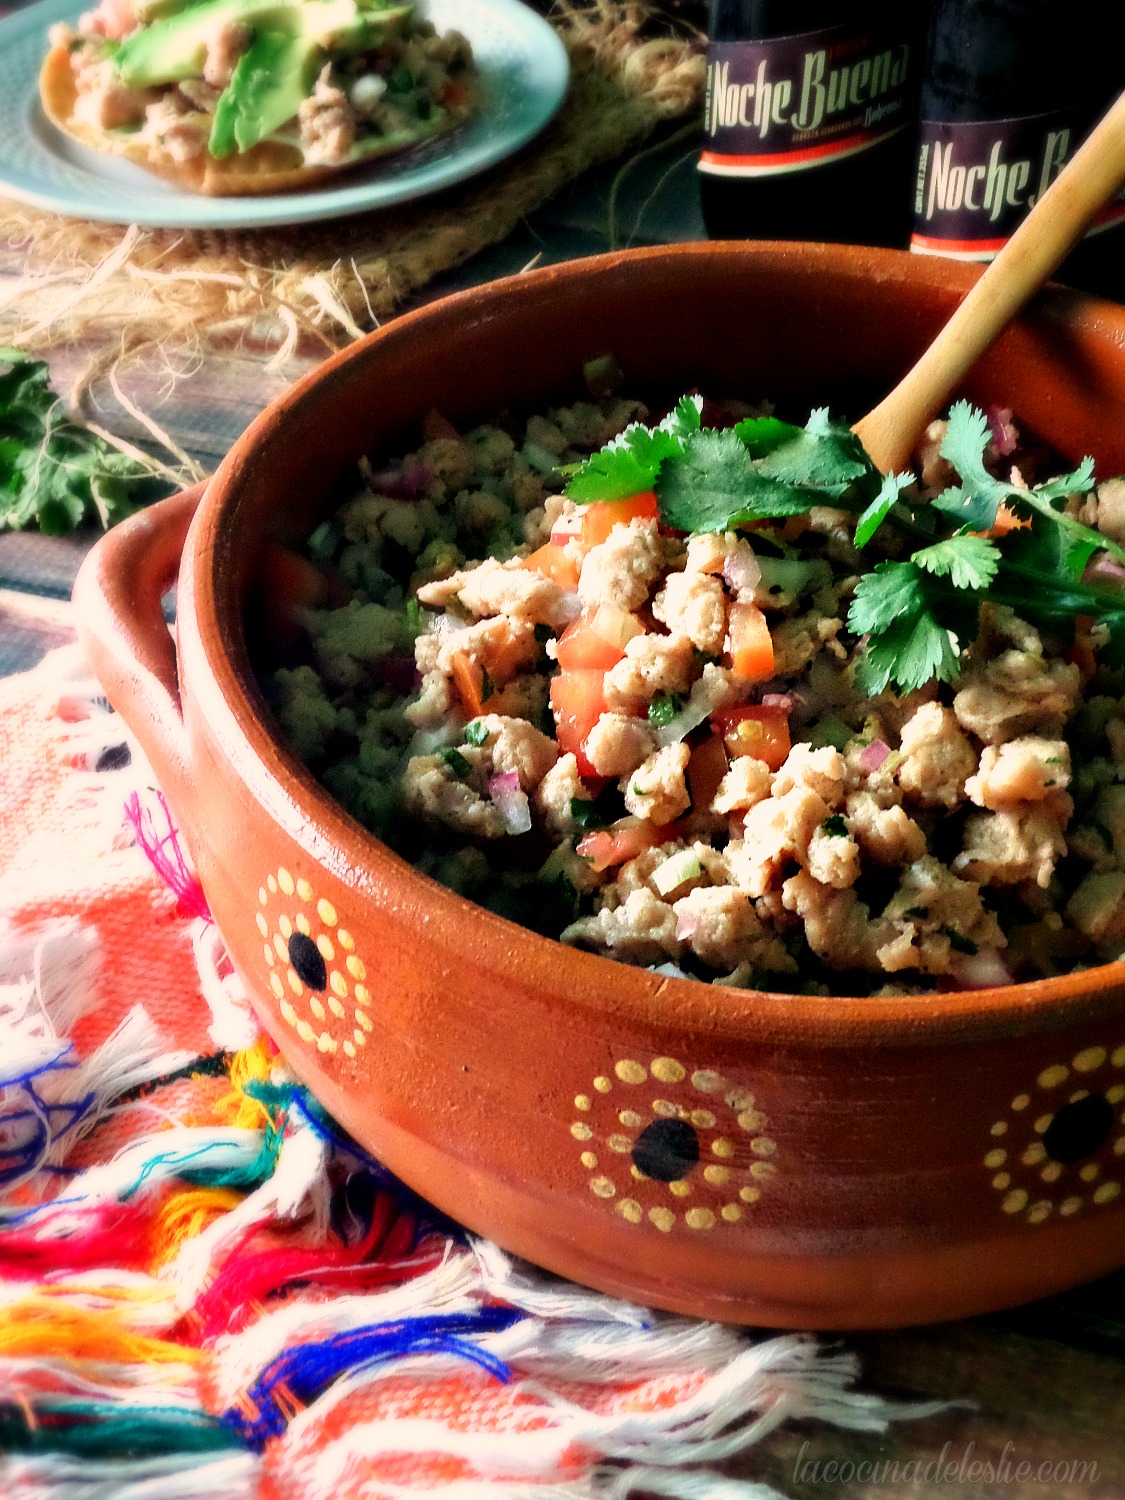
I was born and raised in sunny southern California, but most of time I'm just a southern girl at heart. I blame it on the 3 years that I lived in Texas and the wonderful southern food my Great-Grandmother prepared: peach cobbler, fried okra, cornbread, buttermilk biscuits, gravy, and chicken fried steak. (Swoon!) I'm getting hungry just thinking about it.

The first time I prepared chicken fried steak for Hubby, he said it reminded him of Milanesas, which is a thin cut of steak coated with bread crumbs instead of flour. In Mexico there's even a cut of meat called milanesa, which is usually cut into thin steaks just for this purpose.

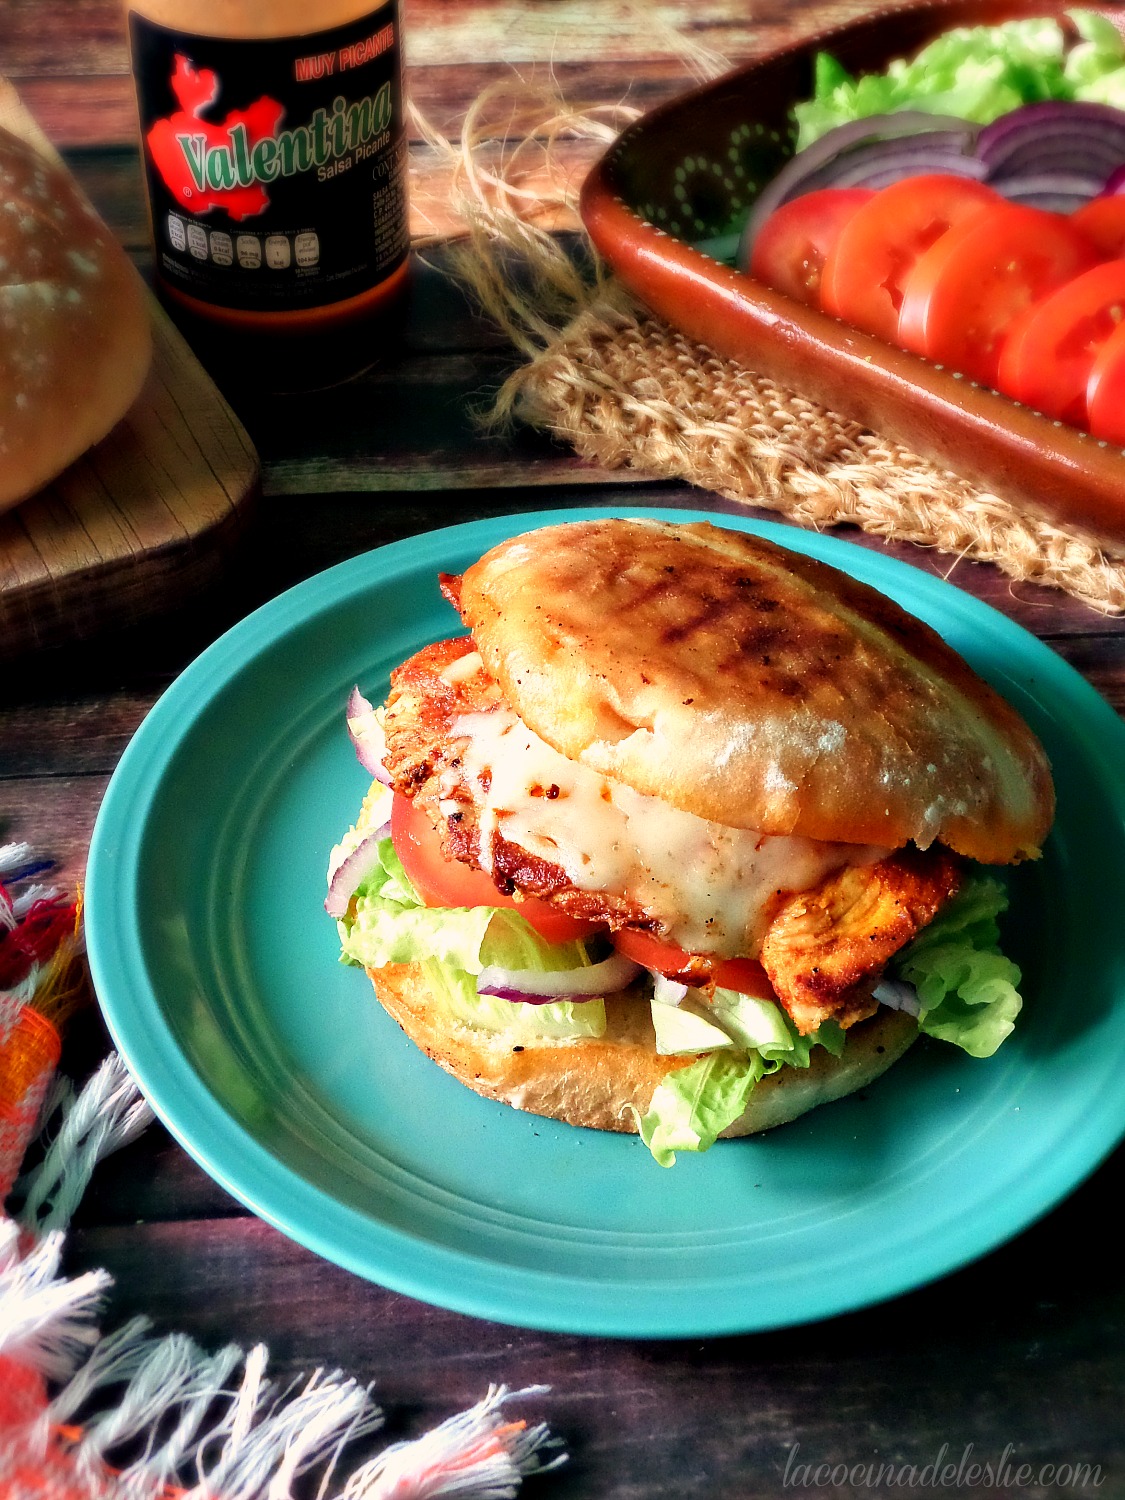
Milanesas empanizadas (breaded milanesa steaks) can be served a variety of ways, one of which is covered in a spicy salsa and served with Mexican Rice and Refried Beans on the side.  But my favorite way to enjoy them is in a Torta de Milanesa (a breaded steak sandwich). Tortas de Milanesa can be served on bolillo rolls or hamburger buns.

Torta de Milanesa de Res - lacocinadeleslie.com

Torta de Milanesa
lacocinadeleslie.com

Ingredients:
  • 1 pound thin-cut steak (I used milanesa)
  • 1 cup milk
  • 2 cups plain bread crumbs
  • 1-1/2 teaspoons seasoning salt
  • Vegetable Oil (for frying)
  • Bolillo rolls or hamburger buns
  • Mexican crema
  • Lettuce
  • Sliced red onion
  • Sliced tomato
  • Sliced avocado
  • Sliced Jalapeños en Escabeche

Directions:
Pour the milk into a medium-sized bowl; set aside.  Place the bread crumbs in another medium-sized bowl.  Season the bread crumbs with the seasoning salt; set aside. Season the thin-cut steaks with salt and pepper; set aside on a plate.

Dip the steaks in the milk, one at a time, then dip them in the bread crumb mixture making sure that both sides are evenly coated. Transfer the breaded steaks to a platter, and continue preparing the rest of the steaks.

Heat 2 tablespoons of oil in a medium skillet.  Fry the steaks in the oil until they turn a nice, golden brown on both sides.

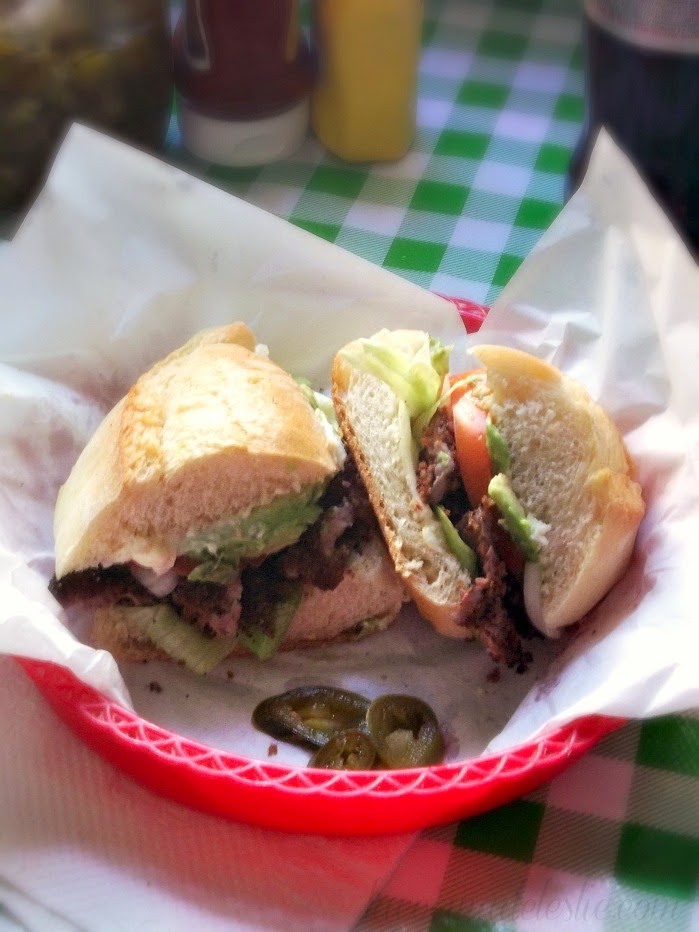
To prepare the Tortas, split bolillo rolls in half lengthwise. Toast bolillo rolls on a griddle or comal.  Spread the cut sides with Mexican crema.  (If you don't have Mexican crema, use your favorite mayonnaise.)  Place 1 or 2 Milanesas atop the bottom bun. Top with lettuce, onion, tomato, avocado, and jalapeño.  Serve with homemade french fries or onion rings. Enjoy!  

Mexican Breaded Steak Sandwich (Torta de Milanesa de Res) - lacocinadeleslie.com


Torta de Milanesa de Res {Breaded Steak Sandwich}


Remember me?  Your favorite Mexican food blogger?

I know it has been quite some time since my last post.  And for that I would like to apologize.  My computer has been giving me grief for quite some time and it won't allow me to upload my recipe pics from my camera.  And I just can't bring myself to use someone else's photos for my recipes.

I was hoping to have my computer fixed this week, but it looks like it will still be another week or two.  As soon as it's fixed, you will be the first to know!

But I do have a little surprise for you.  As I was backing up my pics that I already have on my computer, I discovered a few photos from recipes I never got around to sharing with you.  I look forward sharing them with you in the next couple of days.

In the meantime, if you want to know what I've been up to, come visit my other blog, Motherhood in Mexico.  

Thank you all for being so understanding!

I'm Sorry. So Sorry.

It's easy to throw a meal together with a few basic ingredients, be it breakfast, lunch or dinner.

You will find that in most Mexican kitchens, we always have Chile de Molcajete and Frijoles de la Olla (Cooked Beans) in our refrigerator.  Those two staples alone are the beginning to a number of great meals.  But today, as I opened the fridge, I noticed that I still had 1/2 a kilo of chorizo just waiting to be used in something delicious, like Chilito de Chorizo.  Yummmm!   

Chilito de Chorizo
(Chorizo Chili)

Ingredients:

  • 24 tomatillos
  • Dried Chile de Arbol
  • 1 pound Chorizo (pork or turkey)
  • Cooked Beans (canned or homemade) *optional


Directions:
Remove and discard the husks from the tomatillos.  Rinse the tomatillos and place in a medium saucepan with a few Chiles de Arbol.  (I use 2 or 3, but if you can handle the heat add more!)  Fill the saucepan with enough water to cover the tomatillos.  Cook the tomatillos over medium-high heat until the tomatillos are tender.  

Let the tomatillos cool slightly, then transfer them and the chilies to a blender cup and puree until smooth.  (If the salsa is too thick, add some of the water that the tomatillos were cooked in.)  Season with salt; set aside.


In a medium non-stick skillet, brown the chorizo over medium-high heat until it is fully cooked.  (Chorizo releases it's own fat, so I don't add any oil.)  


Once the chorizo is ready, carefully pour in the tomatillo salsa.  Reduce the heat to low and let the Chilito simmer for 5 to 10 minutes.


Ladle the Chilito into a bowl, add some Cooked Beans if you like and serve with warm corn tortillas.  Enjoy!!!


With Love,

Chilito de Chorizo {Chorizo Chili}

When Hubby first mentioned this next recipe to me, it wasn't something that appealed to me.  After all, the only way I had ever had zucchini, was in Gramm's Guisado.  But Hubby assured me that his mom's way of preparing zucchini was even better.  And sweeter.  Sweet?!!!  Who knew zucchini could be sweet?

My mother-in-law prepared Calabacitas con Leche (Zucchini with milk) often for her six kiddies.  And they all still remember it fondly.  Calabacitas con Leche is just that, zucchini cooked with sugar and milk.  And it is delicious!  It tastes almost like Taninole (Pumpkin with Milk).   

Calabacitas con Leche

Ingredients:

  • 8 medium zucchini, sliced
  • 1/3 cup water
  • 2/3 cups sugar*
  • 2 cups milk
  • Ground Nutmeg (for garnish)


Directions:
Place the sliced zucchini, water and sugar in a medium saucepan.  Cover saucepan and cook over medium heat until almost all of the water has been absorbed. *If you have a sweet tooth, add more sugar.  These zucchini were very sweet, so I didn't need as much sugar. 


Add the milk and reduce the heat to low.  Cover saucepan and simmer until the milk begins to bubble. 


To serve, ladle the zucchini and plenty of milk into mugs or small bowls.  And sprinkle with ground nutmeg.  Enjoy!!! 


With Love,

Sweet home cookin' {Calabacitas con Leche}


It seems that almost every one of my recipes is my favorite.  Which they are.  But if you were to ask me which vegetable is my absolute, all-time favorite, I would say Calabacitas (Zucchini).  They're such a versatile veggie.  They can be sweet or savory, steamed, fried, baked and can even be eaten raw.

Last week, a local farmer drove through the neighborhood selling these freshly cut beauties for 8 pesos a kilo.  The hardest part was trying to decide how to prepare my 3 kilos of calabacitas.  I was in a "Comfort Food" state of mind, so I made Gramm's Guisado de Calabacita (Zucchini Medley).  The only way Gramm made zucchini was to saute it with some onion, tomato and yellow corn.   I prepare it the same way for my kiddies, but I like to add serrano chilies and Queso Fresco!  Mmmmmm!

Zucchini Medley

Ingredients:

  • 6 to 8 medium zucchini, sliced or chopped
  • 2 medium tomatoes, chopped
  • 1/2 onion, chopped
  • 1 to 2 serrano chilies
  • 1 small can yellow corn
  • Queso Fresco (for Garnish)


Directions:
In a large skillet, heat 2 tablespoons of vegetable oil over medium heat.   Add the onion and saute for 1 to 2 minutes.


Stir in the remaining ingredients, except the queso fresco.  Season with salt and pepper.  Saute for 3 to 4 minutes, then reduce the heat to low and cover the skillet.  Let simmer until the zucchini is completely cooked. (About 10 minutes.)


Just before serving, garnish with grated Queso Fresco.  Enjoy!!!


With Love,

Zucchini Medley

(Insert catchy game show music here!)

Okay friends, it is time to play one of my favorite games...Name.  That.  Fruit!  (Applause!) 


This lovely fruit, which I think looks like a petrified strawberry, was spotted today at our favorite fruteria.  Hubby was told the name, but since Hubby has a memoria de Teflon*, he forgot it in the 5 minutes that it took him to get home.  (*Teflon Memory: Nothing sticks to it!) 

In all honesty, I am not the adventurous type.  At least not where food is concerned.  But this is a fruit, so it can't be that bad.

The inside of the fruit was not what I expected.  (Although, I'm not really sure exactly what I expected!)  It looked and tasted like a grape.  Pretty darn good. 


Now for the Million Dollar Question...What is it?  

Photobucket
*NOTE: "Million Dollar Question" is just an idiom .  No money will be awarded for the right answer.  :) But isn't the knowledge that you know the correct name for this fruit reward enough?

Name that fruit!

This week we've been talking all about Comfort Food.  So while we're still on the subject I want to share one of my Hubby's favorite comfort food dishes...Picadillo.

This is one of those rare recipes, in which my grandparents' and mother-in-law's recipes are very similar.  The only difference is that Pappy (my grandpa) made Picadillo with ground beef and canned red enchilada sauce.   My mother-in-law uses thin-cut beef steak and prepares her own sauce using dried ancho chilies.

This is such a wonderful dish, however you choose to make it.  The dried ancho chilies offer plenty of flavor, but don't worry they don't pack any heat.  That's what the serrano chilies are for!  And if you're really feeling brave, you can use fresh jalapeño peppers.  Ay, ay, ay! 

lacocinadeleslie.com

Picadillo

Ingredients:

  • 1-1/2 pounds thin cut beef steak
  • 1/2 large onion
  • 1 to 2 cloves garlic
  • 3 dried ancho chilies
  • 2 medium tomatoes, chopped
  • 1/2 large onion, finely chopped
  • 1 to 2 serrano chilies, sliced


Directions:
Place the meat, half of the onion and the garlic in a medium saucepan.  Cover with water and season with salt and pepper.  Cook over high heat until it begins to boil.  Cover the saucepan, reduce the heat to medium-low and let the meat simmer until tender.  (About 60 to 90 minutes.)

While the meat is cooking, cook the ancho chilies in 2 cups of water until the chilies are soft.  Remove from heat and let cool slightly.  Remove the stems and seeds from the chilies.  In a blender or food processor, puree the chilies with the water they were cooked in, until smooth.  Season chili puree with salt; set aside.

Once the meat is tender.  Let it cool slightly, then shred it using two forks or with your fingers. Or pulse the meat in batches in a blender.  (That's how my mother-in-law shred her picadillo meat.) In a large skillet, heat 2 tablespoons of vegetable oil over high heat.  Saute the chopped onion and garlic for 1 to 2 minutes.  Add the chopped serrano chilies, chopped tomatoes and the shredded meat.  Continue to cook for 2 to 3 minutes.

Add the chile puree and 1 cup of the broth that the meat was cooked in.  Season with salt.  Cover the skillet and reduce heat to low.  Let simmer for 20 minutes.  *If sauce is too thick, stir in more of the broth, until desired consistency.

Serve with Mexican Rice and plenty of warm corn tortillas.  Enjoy!!!

lacocinadeleslie.com


Comfort Food Classics: Picadillo Dreams


Earlier this week, a truck drove through my neighborhood, offering 3 kilos of these gorgeous tomatoes for 20 pesos.  (6 pounds of tomatoes for $1.50 U.S.)  Now you all know that I can't resist these mobile vendors, so of course, I bought a few.  But, that's a whole lot of tomatoes.  What's a girl to do?

The first thing I made was BLT's.  I must say, these were some of the tastiest tomatoes that I have found in Mexico.  Then Hubby requested that I make Tostadas de Lomo.  The large tomato slices looked beautiful atop the tostadas.

But I still had a bunch of tomatoes.

So I decided to make one of my grandfather's favorite dishes...Entomatadas. (The milder cousin of the spicy Enchilada.)  This is a comfort food classic from my childhood. 

Entomatadas

Ingredients:

  • 4 large tomatoes, cut in quarters
  • Corn Tortillas
  • 8 oz. Queso Fresco, grated (or your favorite Mexican blend of cheese)
  • 1/3 cup finely chopped onion
  • Vegetable oil for frying


Directions:
Place the tomato chunks in a large saucepan; fill the saucepan with enough water to cover the tomatoes.  Cook over medium heat until the tomatoes are soft.  Let cool slightly.


Puree the tomato chunks, along with 1 cup of the water they were cooked in, until smooth. 


Pour the tomato puree into the same saucepan.  (Discard the cooking liquid before you do.)   Season the tomato salsa with salt and simmer over low heat until heated thoroughly. 


While the tomato salsa is simmering, heat about 1/2 cup of vegetable oil in a medium skillet until very hot.  Fry the corn tortillas, one at a time, in the hot oil for about 30 seconds on each side.


Dip the tortillas in the tomato salsa, then transfer to a plate.


Top each tortilla with 2 to 3 tablespoons of grated Queso Fresco and a little (or a lot of) chopped onion.  Fold the tortilla in half as you would for a taco and transfer to a serving platter.


To serve, ladle a little more of the tomato salsa over the entomatadas and garnish with more Queso Fresco.  Serve with Mexican Rice and Refried Beans.  Enjoy!!!


With Love,

Entomatadas {Tomato Enchiladas}


Some of my fondest childhood memories are of when I used to go fishing with my mom.  I loved everything about it!  I had my own fishing pole and a cute little tackle box.  We would spend hours sitting by the lake waiting for the fish to bite.  At the end of the day, my mom would fire up the grill and cook our catch of the day.

My mom made the best cornmeal-crusted fried fish, and she topped it with lots of lemon and black pepper.  She didn't use recipes, she just added everything (and anything) she liked.  Years later, I came up with a recipe that was almost identical to what my mom would make. 

So simple with delicious results.


Lime-Pepper Maseca-Crusted Tilapia

Ingredients:

  • 4 to 6 tilapia steaks, cut in half lengthwise
  • 2 cups Maseca (masa harina)
  • 1 tablespoon lime or lemon zest
  • 1/2 teaspoon ground black pepper
  • 1-1/2 cups milk
  • 1/4 cup vegetable oil (for frying)
  • Lime wedges (for garnish)


Directions:
In a medium bowl or plate, mix together the Maseca, ground black pepper and lime zest.  Season with salt.


Season the tilapia with salt and pepper.  Set aside.  Pour the milk into a bowl and soak the tilapia in the milk for 10 minutes.  (This is a great trick to remove some of the "fishy" taste and smell of any type of fish!)


Coat the tilapia strips with the Maseca mixture.  (If you want it extra crispy, re-dip the tilapia in the milk and Maseca.)


Heat the vegetable oil in a medium skillet over medium-high heat.  Fry the tilapia until it turns golden brown on both sides.  Season with more salt, if necessary.  (Sorry about the blurry picture.  It was the best of the bunch!)


Enjoy!!!  (For an even more intense lemon flavor, be sure to squeeze some fresh lime juice over the tilapia strips.)


With Love,

Just Like Mom Used to Make {Lime-Pepper Maseca-Crusted Tilapia}

When I grow up, I want to be a baker!  But not just any baker, I want to bake beautiful yeast breads, both sweet and savory.

While "professional baker" might not be in my immediate future, I still like to pretend that I'm one whenever we visit El Rancho.  Have I mentioned the wonderful clay oven? 

I'm always searching for the next yummy yeast bread recipe to wow friends and family with at the ranch.  One recipe that immediately caught my eye was the Braided Lemon Bread filled with Cream Cheese and Lemon Curd, that I found on the King Arthur Flour blog, Baker's Banter.

I really love all things lemon, so this was the bread for me.  The recipe called for store-bought lemon curd, but I was going to have to make my own.  Not a problem.  There's an easy recipe for Lemon Curd in my Southern Cakes cookbook!  

I have yet to find a yellow lemon in Mexico, but Mexican limones (limes) work just as well with this recipe.  And don't worry if you have any leftover lemon curd.  You can use it to fill layer cakes or cupcakes.  Or what about Lemon Curd Empanadas?  One of my favorite ways to use lemon curd is swirling it into a cheesecake just before baking!

And just a note, if you're making the Lemon Curd for the Braided Lemon Bread, do it a day or two ahead.  Trust me on this one!   

Lemon-Curd Recipe (from Southern Cakes by Nancie McDermott)

Ingredients:

  • 3 eggs
  • 3/4 cup sugar
  • 1/3 cup freshly squeezed lemon or lime juice
  • 1 tablespoon grated lemon zest
  • 6 tablespoons cold butter


Directions:
Bring about 3 inches of water to a simmer in the bottom of a double boiler or a medium saucepan.  Meanwhile, combine the eggs, sugar, lemon juice and lemon zest in the top of the double boiler or in a glass jar or another saucepan that will fit snugly over the other saucepan.


Cook the egg/lemon mixture over the simmering water, whisking and stirring constantly.


Cook for 8 to 10 minutes, until the mixture has thickened.


Remove from the heat and stir in the butter.  Cool to room temperature.  Store any leftover Lemon Curd in an airtight container for up to 2 weeks. 


Enjoy!!!


----------------------------------------------------------------------------

Now on to the fun part...the bread!

The directions on the King Arthur flour blog, included mixing the dough in a bread maker.  I don't have one of those, so I did it the old-fashioned way.

The only substitution I made, besides using homemade Lemon Curd, was using Mexican Crema instead of yogurt. 

This recipe yields 2 large braids, so it will definitely feed a crowd. 

Braided Lemon Bread 
(from King Arthur Flour)

Sponge:

  • 3/4 cup warm water
  • 2 teaspoons sugar
  • 1 tablespoon instant yeast
  • 1/2 cup all-purpose flour


Dough:

  • All of the sponge
  • 3/4 cup Mexican crema or plain yogurt
  • 1/2 cup unsalted butter, softened
  • 2 large eggs, beaten
  • 1/2 cup sugar
  • 2 teaspoons salt
  • 2 teaspoons vanilla
  • 5 cups all-purpose flour
  • egg wash for brushing braid
  • sparkling white sugar for sprinkling on braid


Cream Cheese Filling:

  • 2/3 cup cream cheese, softened
  • 1/4 cup sugar
  • 1/4 cup sour cream
  • 2 teaspoons fresh lemon juice
  • 1/4 cup all-purpose flour
  • 1/2 cup prepared lemon curd


Directions:
In a small bowl, combine all of the sponge ingredients, except the warm water.


Add the warm water, stirring to combine.  Cover loosely with plastic wrap and let set 10 to 15 minutes.


Your sponge should look like this.  I love all of those little air bubbles!


Add the dough ingredients to the sponge.  Mix by hand, just until the dough forms a ball.


Knead the dough on a lightly floured surface for 5 to 8 minutes.


Place the dough into a lightly greased bowl.  Cover and let rest until double in size. 


While the dough is proofing, prepare the cream cheese filling.


In a medium bowl, beat together all of the ingredients for the cream cheese filling until creamy.  Set aside until ready to use.


Look at how my dough doubled in size!


Divide the dough into 2 equal parts.  Roll each half into a 10 x 15-inch rectangle. 


Transfer the rectangle to a baking sheet lined with parchment paper.  (I didn't use the parchment paper, but I wish I had!)


Spread half of the cream cheese filling down the middle third of the dough. 


Spread 1 cup of lemon curd over the cream cheese.  (The recipe only calls for 1/2 cup, but I wanted more lemon filling!)


Using kitchen scissors, cut the sides of the dough into 1-inch strips.  Fold the strips over the filling.  Cover the braids with plastic wrap or a kitchen towel and let set for 45 minutes.


Brush the loaves with egg wash and top with sparkling sugar.  (I used regular granulated sugar!) 


Bake the braids in a preheated oven at 375 F for 25 to 30 minutes or until a light golden brown.  Cover with aluminum foil and let set for about 15 minutes before serving.  Enjoy!!!


With Love,


Printable Version

Baker's Delight {Lemon-Cream Cheese Braid}