Happy Lil' Surprise: Bionicos (Mexican Fruit Salad)

A couple of months ago, the beginning of Summer to be exact, I had a sumptuous recipe to share with all of you.  It was THE perfect recipe to use all of the wonderful Summer fruits available at the market. As I was writing the recipe and uploading the pics, my internet connection went out.  I didn't think that it was going to be a problem, because Blogger automatically saves your drafts every couple of minutes. While I waited for my internet connection to return, I decided to do a little Spring Cleaning with the pics on my computer.  I copied my favorite pics to a disc and deleted the rest, including my food pics that I had already used on this blog.  And being ever-so-slightly OCD, I even deleted everything in my recycling bin.

When my internet connection finally returned, I immediately went back to finish the recipe I had been working on.  Well...imagine my surprise when I saw that none of what I had written had been saved, nor had the pics. Noooooo! That really is one of the worst things that could happen to a food blogger.  I was devastated.

Fast forward to today...
I was working on the my recipe index and was looking through my Picassa Web Albums for pics.  Now imagine what a surprise it was to find the pics of the Summer Fruit recipe I had wanted to post months ago!  Woo-hoo!  I am so happy and excited that I just have to share the recipe before I lose the pics again.

The actual name of this fruit dish is Bionico, but here in town we also call it a Preparado.  It's a very popular breakfast at the town's market.  It's a fruit salad make with a mixture of your favorite fruits, Mexican crema sweetened with honey and ground cinnamon and topped with your choice of granola, strawberry jam and/or shredded coconut.

If you want a lighter, healthier Bionico, substitute plain yogurt for the Mexican crema.  This is a great fruit salad to make all year long, using whatever fruits are in season at the moment.

Bionicos (Mexican Fruit Salad) - lacocinadeleslie.com

Bionicos (Mexican Fruit Salad)
lacocinadeleslie.com

Ingredients:
  • 2 cups Mexican crema or plain yogurt
  • 1/4 cup honey
  • 1/4 cup sugar
  • 1 teaspoon ground cinnamon
  • Apple
  • Papaya
  • Banana
  • Strawberries
  • Mango
  • Guavas
  • Granola (for garnish)
  • Strawberry jam (for garnish)
  • Shredded coconut (for garnish)

Directions:
In a medium bowl, mix together the Mexican crema, honey, sugar and ground cinnamon until the sugar dissolves; refrigerate until ready to use.

Peel and chop your favorite fruits into bite-sized pieces. (I used banana, strawberries, apples, papaya, guavas, and mango.)  You need about 1 cup of fruit per serving. Pour the crema mixture over the fruit; stir gently to combine.

Spoon the fruit mixture into individual bowls or cups.  Top with a dollop of strawberry jam, and sprinkle top with shredded coconut and granola. Enjoy!

Breakfast Bionico (Mexican Fruit Salad) - lacocinadeleslie.com


Dried Chilies + Pork Tacos = Really Good Eats {Tacos de Barbacoa}


One ingredient that I have come to love and use often in my cooking is dried chilies.  There are a wide variety of dried chilies available.  The dried chilies I use most are Ancho, Guajillo and Arbol chilies.

Cooking with dried chilies is not difficult at all.  The chilies are either re-hydrated in boiling water or broth, fried in oil or toasted on a comal.  I do recommend rinsing the dried chilies before using them to remove any dust, and removing the stems and seeds before pureeing in a blender.

The first chile I'm going to tell you about is Chile Ancho.  It's a very flavorful (not too spicy) chile used in Mole, Pozole and Enchilada Sauce

Chile Ancho

Next is the chile guajillo.  In Mexico, the chile guajillo is known to "pinta, pero no pica."  (It adds color, not heat/spice.)  The use of chile guajillo in sauces made with chile ancho give sauces and soups a richer color.

Chile Guajillo
Last, but definitely not least, is the chile de arbol.  This is one spicy little chile.  When I started cooking with chile de arbol, I would only add one chile, because I had zero tolerance for the heat.  But after 16 years of
cooking with chile de arbol, I am finally at a point that I can now use 2 chilies!  Kidding!  I can add a handful of chilies to whatever it is I'm making and not burn my tongue off.  Chile de arbol is used in salsas like Chile de Molcajete

Chile de Arbol de Yahualica (The BEST chile de arbol in the world!)


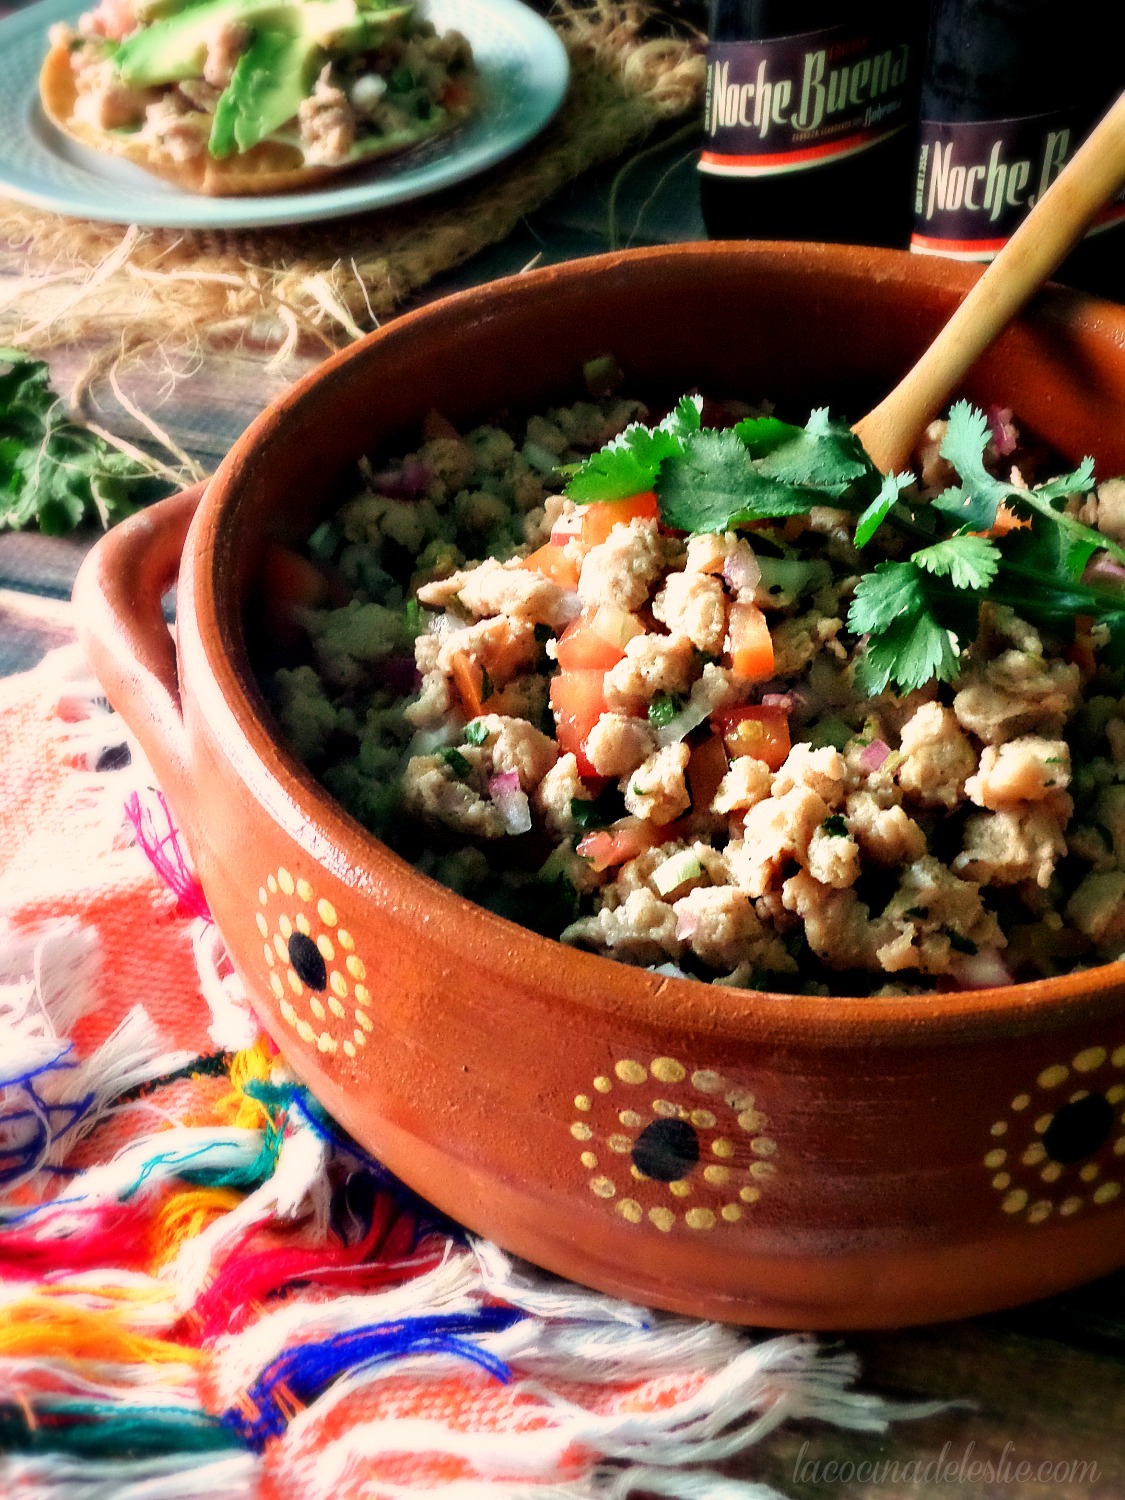
Now that I've told you about my favorite dried chilies, let's get to cooking.  One of the foods I remember most about my summers and holidays spent in San Luis, Sonora are the tacos.  They were deep-fried tacos  made with shredded pork or beef and had some kind of chile sauce or adobo.  I was young and didn't pay much attention to the actual name.  But I never forgot those tacos.  Whenever we would visit other states in Mexico, I would look for my favorite kind of taco, but never found it.

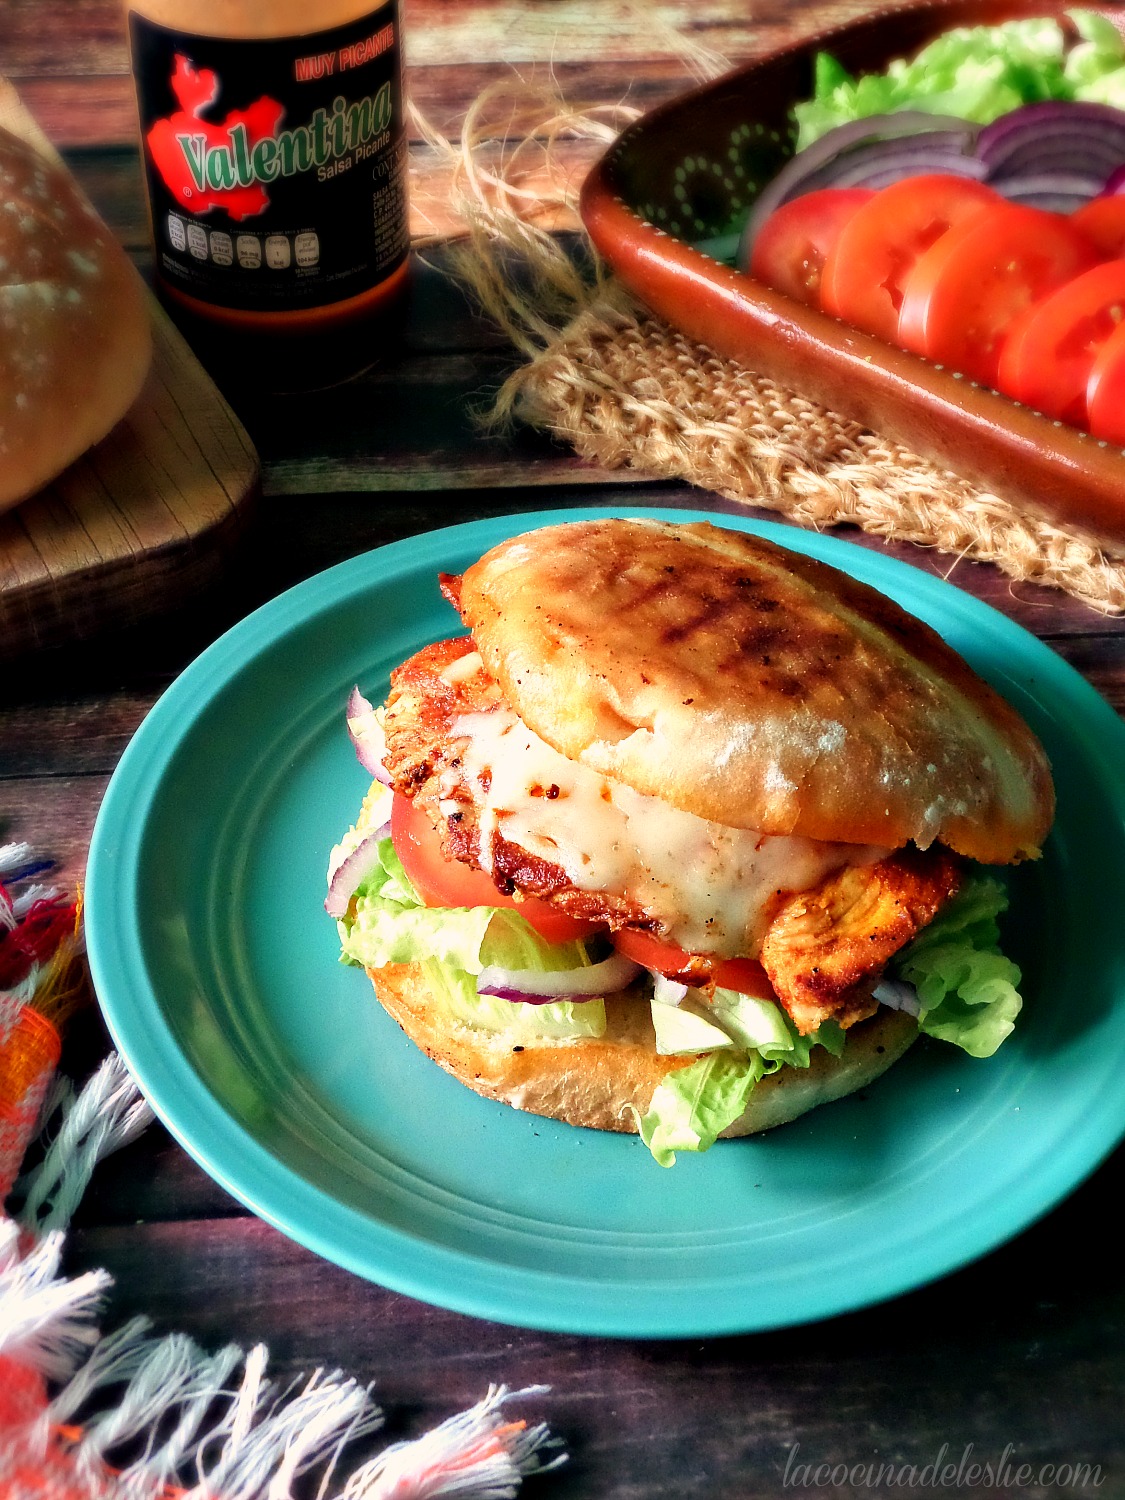
It wasn't until Hubby and I moved to Mexico, that I found a taco that tasted just like the ones I ate when I was a kid.  A vendor who specializes in Tortas Ahogadas, also offers what he calls Tacos de BarbacoaBarbacoa is a complicated process of slow-roasting the meat - beef, pork or sheep - in a special oven or a hole dug in the ground.

But I'm not going to make you work that hard for a delicious taco.  This is a great recipe to use up any leftover roast.

Easy Tacos de Barbacoa

Ingredients:

  • 3 Guajillo chilies
  • 4 Ancho chilies
  • 2-1/2 cups water
  • 3 cups shredded pork or beef
  • Corn Tortillas
  • Vegetable Oil (for frying)
  • Onion slices
  • Lime wedges


Directions:
In a medium saucepan, bring the dried chilies and water to a boil over medium heat.  Remove the saucepan from the heat, cover and let cool slightly. 


Remove the stems and seeds from the chilies.  Puree the chilies and the cooking water they in a blender until smooth.  Pour into a medium bowl or saucepan; season with salt.  Set aside.


Heat dozen (or more) corn tortillas slightly on a comal or griddle, just until they are soft and pliable.  Fill each tortilla with 3 to 4 tablespoons of shredded meat.  Fold the tortillas in half; set aside.


Heat 2 cups of oil in a large skillet.  Dip each taco in the chile puree.


Carefully, place the tacos in the hot oil.  Let fry 1 to minutes per side, until the tacos are crisp.  Transfer the tacos to a paper towel lined plate to remove any excess oil.


Garnish the tacos with onion slices and lime wedges.  (Place the onion inside the taco and squeeze fresh lime juice over the meat and onion.)  Serve with Refried Beans and Sopa de Arroz (Mexican Rice).

Enjoy!!!


Photobucket

Just in time for Fall {Fresh Apple Cake with Brown Sugar Glaze}

When I think of Fall, I think of the weekends I spent camping with my grandparents in scenic Oak Glen.  The quaint picturesque community of Oak Glen is famous for it's apples.  September marked the beginning of apple season.  SoCal tourists lined the streets to pick baskets of red, yellow, pink and green apples and to enjoy all of the delicious apple goodies made with the local varieties of apples.  Some of my favorites included Apple Butter, Apple Turnovers, Apple Wine, a slice of Apple Pie á la Mode and a tart caramel apple on a stick.

All of these wonderful memories came flooding back after one bite of this month's Cake Slice Bakers cake: Fresh Apple Cake with Brown Sugar Glaze.  A moist apple cake studded with chopped pecans and topped with a buttery brown sugar glaze.  It was like biting into the sweet caramel apples I grew up eating.

As I was putting the cake together, I was worried that there would be too little cake with the amount of apples and pecans I added.  I got a little carried away and added a whole kilo of chopped apples.  But the cake turned out to be a perfect balance of cake, apples and pecans.  The only change I would make is to reduce the amount of oil.  I used the entire cup and a half called for in the recipe, but I think it would turn out even better with just one cup.

Be sure to visit the rest of the Cake Slice Bakers to see what they thought of this delicious cake. 

Fresh Apple Cake with Brown Sugar Glaze
(from Southern Cakes by Nancie McDermott)

Fresh Apple Cake:

  • 3 cups flour
  • 2 cups sugar
  • 1 teaspoon baking soda
  • 1 teaspoon salt
  • 3 eggs
  • 1-1/2 cups vegetable oil
  • 2 teaspoons vanilla extract
  • 3 cups finely chopped apples
  • 1 cup coarsely chopped pecans or walnuts


Brown Sugar Glaze:

  • 1 cup lightly packed light brown sugar (azucar mascabado) 
  • 1/3 cup butter
  • 1 teaspoon vanilla extract
  • 2 tablespoons evaporated milk, half-and-half or cream (I used evaporated milk)


Directions:
To make the cake, heat the oven to 350F.  Grease and flour a 9x13-inch pan.  In a medium bowl, combine the flour, sugar, baking soda and salt; stir with a fork to mix everything together well.


In a large bowl, beat the eggs with a wooden spoon or wire whisk at low speed until pale yellow and foamy.


Add the oil and vanilla; beat well.


Stir in the flour mixture just until the flour disappears.


Add the apples and pecans.


This is where you should switch to using a wooden spoon, because the batter is very thick.


Scrape the batter into the prepared pan.  Bake at 350F for 45 to 50 minutes, or until the cake turns golden brown, springs back when touched lightly in the center and begins to pull away from the edges of the pan. 


Once the cake is done, let it cool slightly in the pan on a wire rack.  Make the glaze while the cake is hot.  Combine all the ingredients in a medium saucepan.  Cook over medium heat, stirring often, until the mixture comes to a gentle boil and cook for 3 to 5 minutes.


Pour the glaze over the hot-from-the-oven cake.  Let the glazed cake cool completely. 


Serve in squares right from the pan.  Enjoy!!!


Printable Recipe
Photobucket
(P.S.) If you would like to join me and the rest of The Cake Slice Bakers, we are now accepting new members.  Send Katie an e-mail with your name, blog name and blog URL to appleandspice(at)hotmail.co.uk with "Cake Slice Member" as the subject.  You have until October 20th to sign up.

Say Queso! {Classic Quesadillas}

Mexican Independence Day is just around the corner.  The entire country is abuzz with preparations for the big Bicentennial celebration.  It's also the time of the year that I really start craving Mexican "antojitos".  

Mexican food doesn't get much simpler than the quesadilla.  In it's classic form, all you need is a tortilla (corn or flour) and a little cheese.  All I can say is, "Viva la comida Mexicana!"

Classic Quesadillas

Ingredients:

  • Corn or flour tortillas (I used corn)
  • 6 to 8 oz. queso Oaxaca, thinly sliced (or substitute Mozzarella)


Directions:
Heat a comal or griddle over medium heat.  Warm the tortillas slightly on the comal.


Place a couple of thin slices of cheese on one half of the tortilla.  Fold the tortilla in half and set aside.


Cook the quesadillas on the comal until the cheese has completely melted.


Serve with Chile de Molcajete, Pico de Gallo or Guacamole. Enjoy!!!

Look at all that melted yummy-ness!

Photobucket

Comfort Food Classics: Sopa de Fideo

Sopa de Fideo is a traditional Mexican noodle soup in a light tomato broth seasoned with onion and fresh cilantro.


Traditional Mexican Sopa de Fideo recipe - lacocinadeleslie.com

For those of us that grew up in a Mexican household, Sopa de Fideo is one of those classic comfort foods that will always bring to mind fond memories of our childhood, our abuelitas, and/or our favorite tías (aunts). For me, this fideo soup brings back memories of my abuelito (grandpa), who always made this soup on rainy days and whenever I was sick. Just like my grandma's Caldo de Pollo for the Soul, Pappy's Sopa de Fideo had magical curitive powers, because I always felt so much better after eating a bowl. There wasn't anything Sopa de Fideo couldn't heal... the common cold, migraines, asthma flare-ups, and even a broken heart.

How to make traditonal Mexican Sopa de Fideo (Fideo Soup): 

Enjoying this classic Mexican noodle soup at home is super easy. With just a handful of ingredients--like ripe tomatoes, onion, homemade chicken broth, and fresh cilantro--you can have lunch or dinner on the table in less than 30 minutes. I feel that the secret to a flavorful Sopa de Fideo starts with frying the fideo pasta in oil until golden brown. Then there's that tantalizing sizzle when the tomato puree hits the hot pan, filling your cocina with the comforting aroma of this childhood favorite.


Tasty Takes on Classic Mexican Fideo Soup: 

Like most traditional Mexican recipes, every family has their own unique recipe for making Sopa de Fideo. There is no wrong way to make Mexican Sopa de Fideo, and best of all you can tweak the recipe to make a few delicious variations to a classic. Some of my favorites inclucde Sopa de Fideo con Pollo (chicken & veggie sopa de fideo), Sopa de Fideo a los Cuatro Chiles (4 chile fideo soup), and Salsa Verde Sopa de Fideo. And then of course there is also Sopa de Fideo Seco, which is another classic fideo recipe topped with lots of melted cheese.

This cool, crisp fall weather is perfect for enjoying a bowl of warm, comforting Sopa de Fideo. You can serve this Mexican classic all on it's own for a light meal with a toasted bolillo roll or crackers, or serve it alongside your favorite quesadillas or tortas (sandwiches).

Yield: 6 to 8 servings

Classic Mexican Sopa de Fideo

Sopa de Fideo is a traditional Mexican noodle soup in a light tomato broth seasoned with onion and fresh cilantro.
prep time: 10 MINScook time: 25 MINStotal time: 35 mins

ingredients


  • 4 roma tomatoes 
  • 1/2 medium white onion 
  • 2 cups water 
  • 2 tablespoons vegetable oil 
  • 200 gr. fideo pasta 
  • 4 cups chicken broth 
  • 6 sprigs fresh cilantro 

instructions


  1. Puree the tomato, onion, and water in a blender until smooth; set aside. 
  2. Heat vegetable oil in a deep skillet or medium saucepan over medium-high heat. Fry fideo pasta in oil, stirring constantly to avoid burning, until golden brown. Carefully stir in the tomato puree, chicken broth, and fresh cilantro. Season with salt to taste. Stir gently to combine. 
  3. Let soup come to a boil over high heat. Cover and reduce heat to low; let simmer for about 15 minutes until pasta is completely cooked; remove from heat. 
  4. Ladle soup into bowls. Serve with Tacos Dorados de Queso or garnish with fresh cilantro and bite-size cubes of your favorite Mexican cheese. Enjoy! 
Created using The Recipes Generator