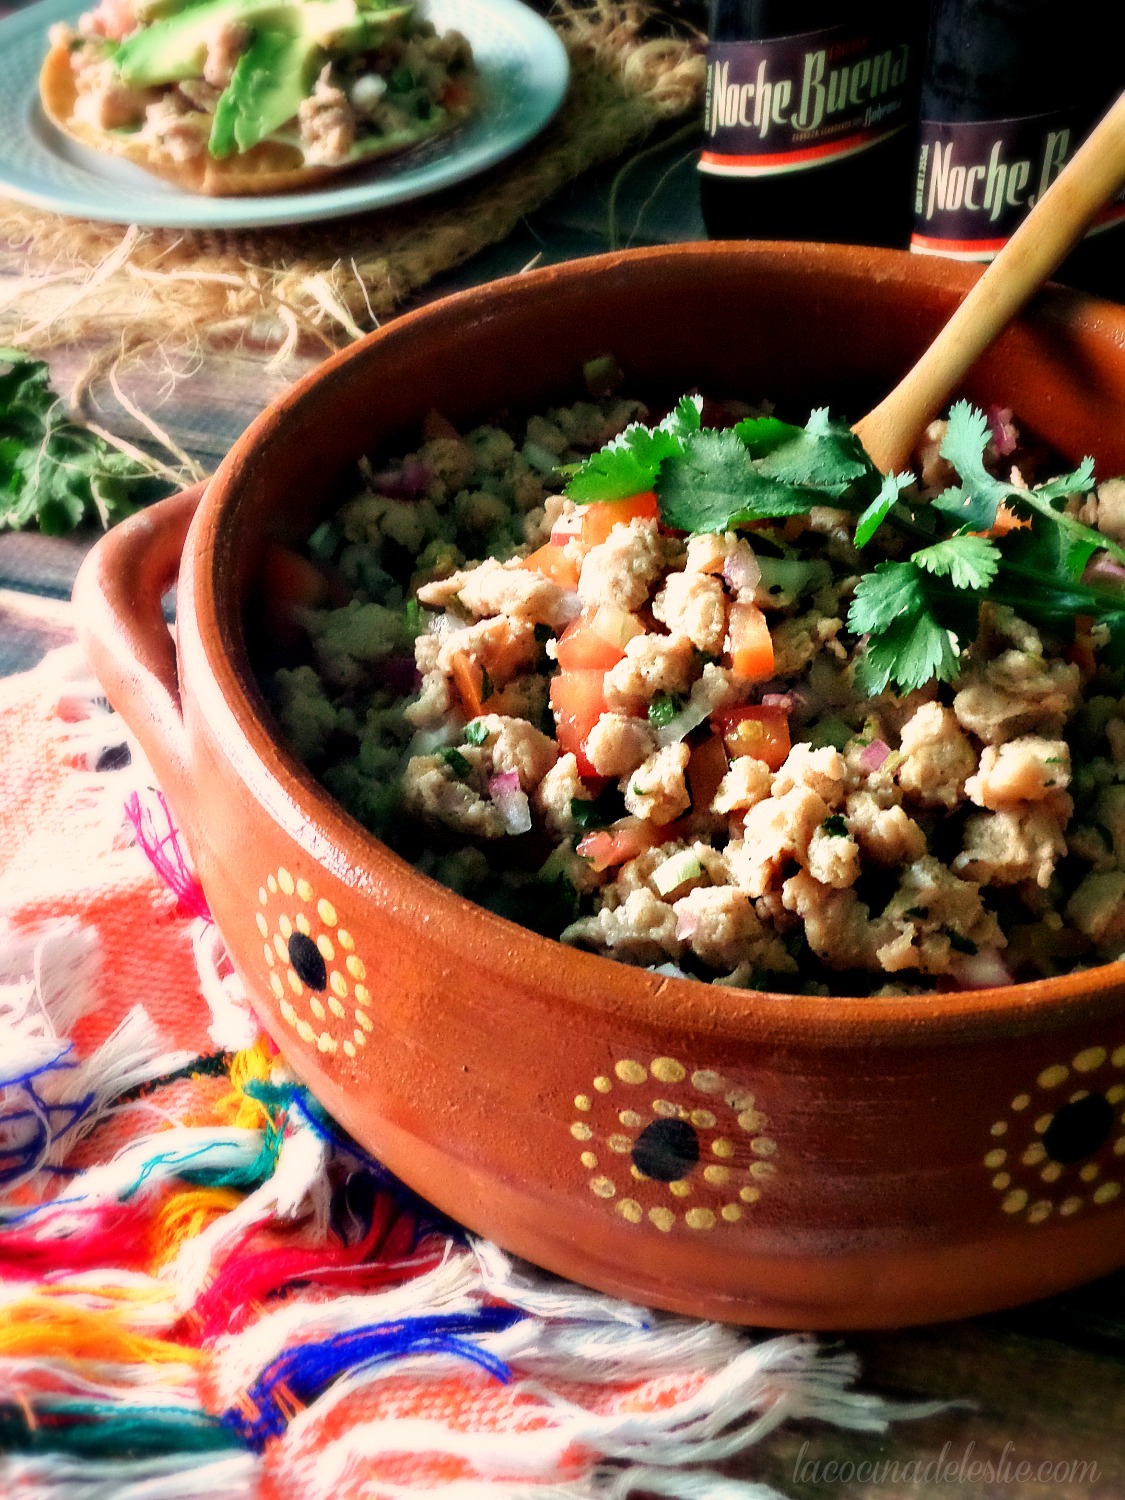
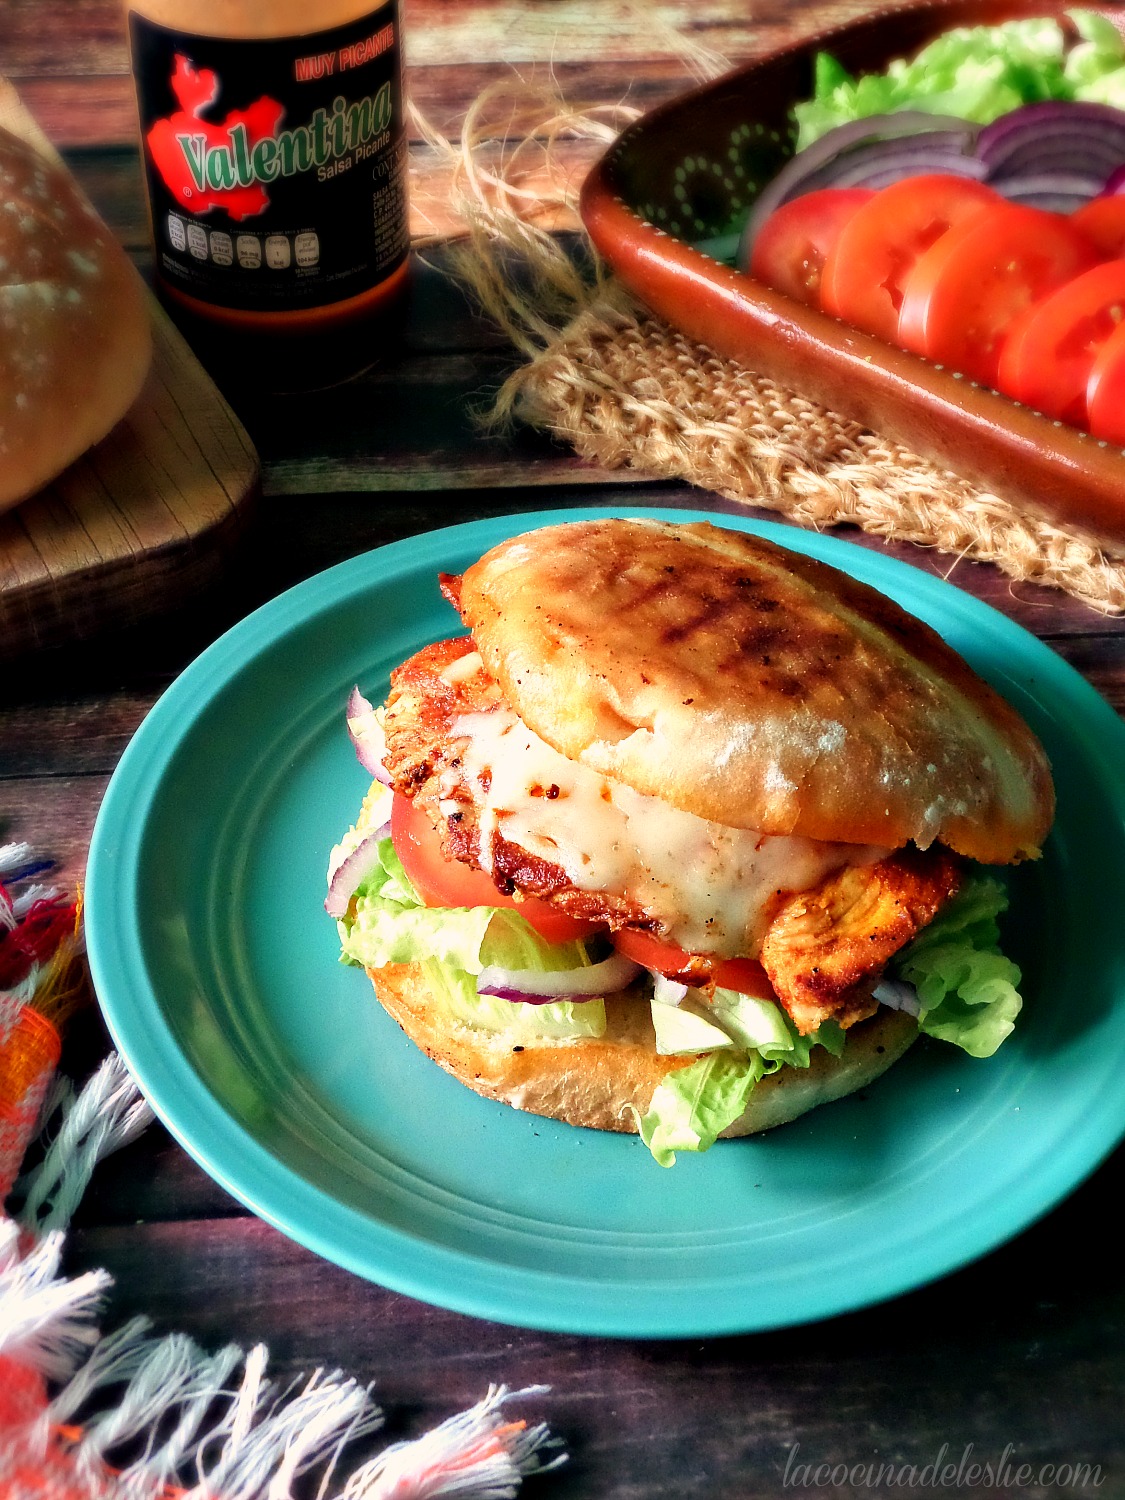
That title sounds fancy doesn't it? This recipe was actually a last-minute creation.  I was going to make Tilapia al Mojo de Ajo, but hubby walked in to say that he was in the mood for something saucy! I opened my fridge to see what ingredients I had on hand to make a quick sauce.  The first things I noticed were the chipotle peppers and the Mexican crema. Hmmmm... I pureed them together and poached some tilapia steaks in the sauce and voila...this lovely dish was born. It was an instant hit with my hubby and kiddies.  And I'm sure it will be a big hit in your house too!

Tilapia en Crema de Chipotle - lacocinadeleslie.com

Tilapia en Salsa de Chipotle
lacocinadeleslie.com


Ingredients:
  • 3 tablespoons butter
  • 1/2 medium onion, sliced
  • 1 clove garlic, finely chopped
  • 1 cup Mexican Crema or Sour Cream
  • 2 chipotle peppers in adobo sauce 
  • 6 tilapia steaks/fillets 

Directions:
Puree the Mexican crema and chipotle peppers in a blender until smooth, set aside. Melt the butter in a large skillet.  Add the the onions and garlic and saute for 2 minutes over medium heat. Stir in the Mexican crema and chipotle sauce; season lightly with salt and pepper. Once sauce begins to bubble, reduce heat and add the tilapia steaks.  Cover and reduce heat to low heat, let simmer for 15 minutes or until fish is completely cooked. Serve with Mexican rice and plenty of warm corn tortillas.  Enjoy!!!


Tilapia en Salsa de Crema con Chipotle (Poached Tilapia in a Creamy Chipotle Sauce)

If you like Piña Coladas, then you're going to love Fresa Coladas.  Slightly tart Agua de Fresa sweetened with creamy sweetened condensed milk.  And if you're looking for a more adult version, add a shot of rum to each glass before serving.  Yum, yum, yummmmm!

Fresa Colada

Ingredients:

  • 3 to 4 cups strawberries, stems removed
  • 4 cups water
  • 1 (14oz. can) sweetened condensed milk
  • Ice
  • Rum (optional)


Directions:
Slice enough strawberries to equal one cup; set aside.


Puree the remaining strawberries in a blender with 4 cups of water until smooth.


Strain the pureed mixture into a 2-quart pitcher.


Pour in the can of sweetened condensed milk.  Pour in enough water to fill the pitcher.  Stir well to combine.


Add the slice strawberries and stir gently.


Serve with lots of ice.  And if you're looking for a more grown-up cocktail, add a shot of rum to each glass!  Enjoy!!!


With Love,


Linking up with Gooseberry Patch Strawberry Recipe Round-Up

Agua de Fresa Colada {Strawberry Colada}

Who doesn't like Piña Coladas?  They're so popular that they even have their own song. (Which I have been singing all day!)

Agua de Piña Colada is a fun and easy beverage for both young and old to enjoy!  It is made with fresh pineapple and sweetened with Cream of Coconut.  For a more grown-up version, add a shot of rum into each glass before serving. 

Agua de Piña Colada

Ingredients:

  • 2 cups fresh pineapple chunks
  • 6 cups water
  • 1 (15 oz.) can Cream of Coconut
  • 1/3 cup sugar
  • Rum (optional)


Directions:
In a blender, puree the pineapple chunks with 4 cups of water until smooth.


Pour the pineapple puree through a strainer into a 2-quart pitcher.


Pour in 1/2 of the cream of coconut and enough of the remaining water to fill pitcher.  Stir in the sugar and mix well.


Serve with lots of ice and garnish with a slice of pineapple.  Enjoy!!!


With Love,


*This recipe was featured on Saveur.com as "Best of the Web".

Agua de Piña Colada

I waited until the very last minute to make this month's Cake Slice Bakers cake.  Mostly because I was having problems with my asthma.  But I was determined to bake this cake before the March 20th deadline.

I was not disappointed.

This cake was even easier to put together than the Mississippi Mud Cake.

And the taste was fantastic.  The cake wasn't too sweet, which seemed like a perfect balance for the sweet topping.  And the cake was just firm enough that it doesn't crumble beneath the sticky sweet pineapple topping.  I served each piece with a dollop of sweetened whipped cream.  But I think this would be even greater with a scoop of vanilla ice cream. Yum!

*In Spanish, a Pineapple Upside-Down cake is called a Volteado de Piña.

Pineapple Upside-Down Cake
(From Southern Cakes by Nancie McDermott)

Pineapple Topping:

  • 1 (20 oz.) can pineapple rings, with their syrup
  • 4 tablespoons cold butter
  • 2/3 cup firmly packed brown sugar, light or dark (I used dark)
  • 10 maraschino cherries


Cake:

  • 1-1/2 cups all-purpose flour
  • 3/4 cup sugar
  • 1-1/2 teaspoons baking powder
  • 1/2 teaspoon salt
  • 1/2 cup milk
  • 4 tablespoons butter, softened
  • 1 egg
  • 1 teaspoon vanilla extract 


Directions:
Heat the oven to 350ºF.

To make the topping, drain the pineapple well, reserving 2 tablespoons of the juice (or syrup) for the cake.  Put the cold butter in a 9-inch round cake pan and put it in the oven for a few minutes as it heats to melt the butter.


Remove the pan from the oven and sprinkle the brown sugar over its buttery surface.


Carefully arrange the pineapple rings on top of the scattered brown sugar and melted butter.  Place a cherry in the center of each ring.


To make the cake, in a large mixing bowl, combine the flour, sugar, baking powder and salt; use a fork to mix them together.


Add the milk and butter and beat well with a mixer on medium speed, scraping the bowl once or twice.  The batter will be very thick.


Add the egg, reserved pineapple syrup and vanilla. Beat for 2 minutes more, stopping once or twice to scrape down the bowl.


Carefully pour the batter over the pineapple arranged in the cake pan.  Use a spoon or spatula to spread the batter evenly to the edges.  Bake at 350ºF for 35 to 40 minutes, or until the cake is a light golden brown and springs back when touched gently in the center.


Cool the cooked cake in the pan on a wire rack for 5 minutes.


Using oven mitts, carefully turn out the warm cake onto a serving plate, by placing the plate upside-down over the cake in the pan, flipping them over together to release the cake on to the plate.  Best served warm with a billowy dollop of sweetened whipped cream.  Enjoy!!!


Don't forget to check out the other Cake Slice Bakers' cakes!

With Love,


Printable version

Pineapple Upside-Down Cake


If you thought my recipe for Homemade Corn Tortillas was just too much work, I have an even easier recipe using the same masa (dough).

Gorditas.

Gorditas are a thicker version of a corn tortilla, without the hassle of having to flatten the dough with a tortilla press. 

Most Gorditas that I have seen in Mexico are deep-fried in oil or lard.  I have nothing against fried food, but I prefer to cook mine on a comal or griddle.

After the Gorditas are fully cooked, they are split open like a pita bread and stuffed with whatever delicious filling you want.  My Hubby likes Gorditas de Chilito de Chicharron.  The kiddies like their Gorditas stuffed with Refried Beans and Chile de Molcajete. (These are great for breakfast during Lent.)  And I love Gorditas filled with Chorizo con Papas (chorizo with potatoes).

And best of all, Gorditas can be served for breakfast, lunch or dinner. 

Gorditas

Ingredients:

  • 2 cups Maseca masa harina
  • 1-1/4 cups water
  • 1/4 teaspoon salt


Directions:
Preheat a comal or griddle over medium-low heat.  In a medium bowl, combine the Maseca and salt.  Stir in the water and mix until the dough forms a ball.


Divide the dough and shape into 2-inch balls.


Flatten the balls of dough between your hands to about 1/4-inch thickness.


Carefully place the Gorditas on the griddle.   Cook until the Gorditas are visibly darker in color and dough looks firm.


Transfer the Gorditas to a heatproof plate.  Run a knife around the outer edge of the Gordita to open it up.


Fill with your favorite Mexican dish.  Enjoy!!!


With Love,

Gorditas

The most important part of any meal here in Mexico is the tortillas.  Corn tortillas are served at breakfast, lunch and dinner.

For those of us living in Mexico, we are a bit spoiled.  Every town has atleast one tortilleria making fresh corn tortillas daily for the whole town.

When I first moved to Mexico, most of the women made their way to the tortilleria just before the mid-day meal, to stand in a very long line waiting for warm, fresh corn tortillas.  This daily activity was one that I loved.  The women in line would talk about everything with everyone and the conversation would start right back up the next day.  Thinking about it now, reminds me of how sweet life in Mexico is.

Things have changed since then.  The tortillerias are still in business, but now they deliver freshly made tortillas to all of the tienditas (small general stores), where it's much easier for the women to purchase them by the kilo.  Never by the dozen.

The tortillerias also sell masa (dough) for you to make tortillas at home.  But for those of you who can't find prepared masa, here is a very easy recipe using one of my favorite ingredients...Maseca masa harina (dough flour). 

Homemade Corn Tortillas
(from the back of the Maseca box)

Ingredients:

  • 2 cups Maseca masa harina
  • 1/4 teaspoon salt
  • 1-1/4 cup water


Directions: 
Heat a griddle or comal over very low heat.  In a medium bowl, combine the Maseca masa harina with the salt.


Add the water and mix by hand until the dough forms a ball.


Divide the dough and shape it into small 1-inch balls.  Place the ball of dough on a tortilla press lined with 2 sheets of plastic wrap or parchment paper.


Lower the lid and press down.  (If you do not have a tortilla press, place the ball of dough between 2 sheets of wax or parchment paper.  Use a large heavy plate to press down and flatten dough.) 


Carefully peel away the wax paper and gently lay the tortilla on the warm griddle. Heat until fully cooked on both sides.  Repeat the process with the remaining dough.


Enjoy!!!


With Love,

Tortillas de Maiz {Homemade Corn Tortillas}

When it comes to traditional Mexican shrimp dishes it's hard to choose just one as my all-time favorite. There are so many to choose from, like Camarones a la MexicanaCamarones al Mojo de Ajo (garlic shrimp), Camarones a la Diabla (deviled shrimp), Cóctel de Camarón (shrimp cocktail), and Caldo de Camarón (shrimp soup). They're all incredibly flavorful, and each dish is so unique.

Camarones a la Mexicana is a bright and colorful dish that gets it's name "a la Mexicana" because the shrimp are sauteed with green chiles, onion, and tomato, which happen to be the colors of the Mexican flag. Camarones a la Mexicana is a great dish to serve for a Mexican themed dinner or fiesta, but it's also a very popular dish served during Cuaresma (Lent).

How to make Camarones a la Mexicana - lacocinadeleslie.com

Camarones a la Mexicana

Starting this Twosday, I'm going to do things a little differently.  I will still be posting two recipes each Tuesday, but I'm going to give each recipe it's own post.  Hopefully, it will make searching for recipes on this blog much easier.

But enough shop talk, let's get down to business.

Flan!  I love this sweet, creamy custard dessert and it's thin burnt sugar jarabe (syrup).  And I'm sure you will fall in love with Flan too, after you've tried this simply delicious recipe.

Classic Vanilla Flan

Ingredients:

  • 1 cup sugar
  • 1 (14 oz.) can sweetened condensed milk
  • 1 (12 oz.) can evaporated milk
  • 4 eggs
  • 1 teaspoon vanilla


Directions:
Place the sugar in a medium saucepan.


Cook over medium heat until the sugar melts and turns a dark amber color.


Carefully pour the jarabe (syrup) into an 8-inch cake pan.  Tilt the pan making sure to coat the bottom and sides with the syrup.


Puree the sweetened condensed milk, evaporated milk, eggs and vanilla in a blender until smooth.


Pour the milk mixture into the cake pan.


Cover the cake pan with aluminum foil.  Place the cake pan inside a larger baking pan.  Fill larger pan up halfway with hot water.  Bake in a preheated 350ºF oven for 1 hour 20 minutes or until center of the flan has set.


Remove flan from oven and remove the foil covering; let cool to room temperature.  Refrigerate 3 hours or overnight.


Place an inverted plate on top of cake pan.  Carefully flip cake pan and plate over.  Enjoy!!!


With love,

Classic Vanilla Flan