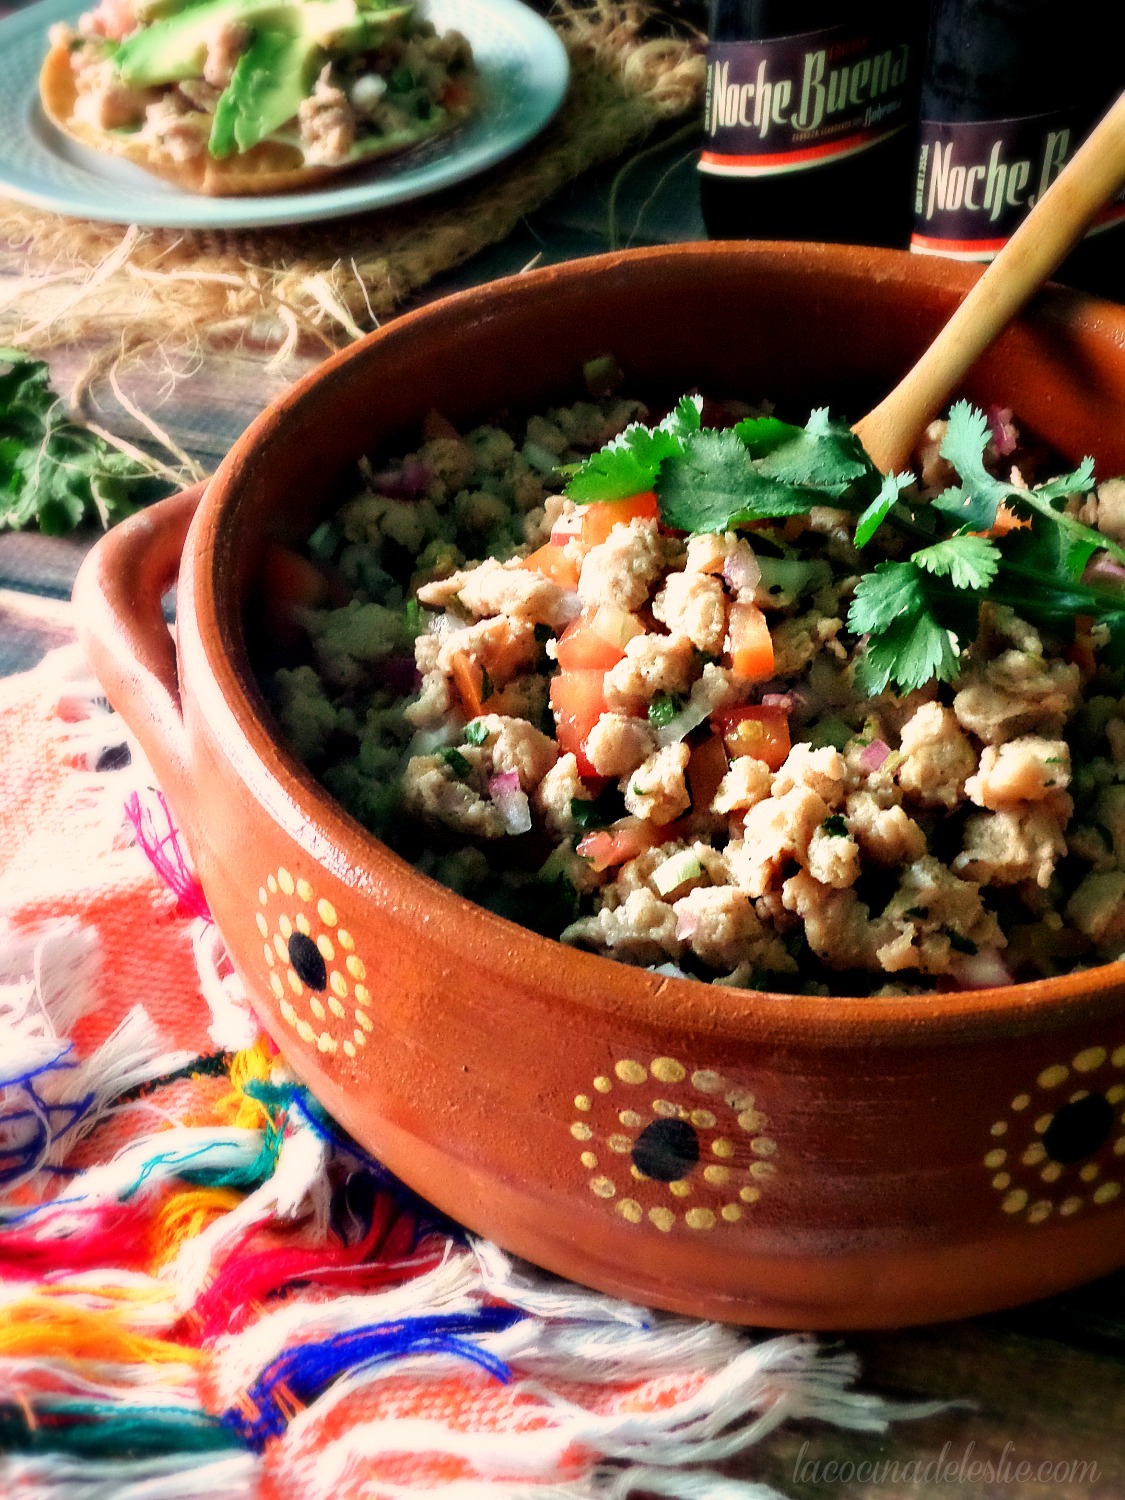
Ensalada de Nopales is a classic Mexican salad made with cactus paddles, tomato, onion, cilantro, and serrano chiles. This delicious salad can be served as a side dish with your favorite Mexican dishes, or as a garnish for your favorite soups, stews, tortas, and tacos.


Ensalada de Nopales recipe - lacocinadeleslie.com

I have a very special treat for you today, made with a very important staple in the Mexican diet, and a permanent fixture in my cocina...Nopales (cactus paddles). Yes, you read that correctly...cactus paddles. Not only are cactus paddles edible and delicious, but they're also very good for you. They are known to help lower cholesterol and blood sugar levels.

When I was growing up, I wasn't a big fan of nopales. That's probably because the only kind of nopales available back then at the Mexican market were nopales in a jar. Something about the murky liquid they were packed in totally turned me off to even wanting to try nopales. It wasn't until I was in my late teens that we started to see fresh nopales showing up in the produce section of our friendly neighborhood grocery store. But still, even fresh nopales didn't appeal to me, because I couldn't get over the image of the jarred nopales in the murky liquid.

Hubby picking nopales at el rancho.

It wasn't until I moved to Mexico that I finally worked up the nerve to try nopales. My suegra always had ensalada de nopales in her fridge, and I loved how she would snack on a taco de nopales before serving lunch. I don't know what I was expecting the nopales to taste like, but they were so much for flavorful than I had imagine. Refreshing and slightly tangy, it was love at first bite.

Hubby teaching our boys how to clean cactus paddles .

Cooked nopales are traditionally used in Ensalada de Nopales (Cactus Salad), but they can be added to any dish.  Some of my favorites include Mole Ranchero with pork loin and Nopales, Chilito de Chicharron with Nopales and Scrambled Eggs with Nopales.  But cooked nopales are so good, I find myself snacking on them straight from the pan. 


How to make ensalada de nopales - lacocinadeleslie.com


Yield: 6 to 8 servings

Ensalada de Nopales

prep time: 10 MINScook time: 20 MINStotal time: 30 mins
Ensalada de Nopales is a classic Mexican salad made with cactus paddles, tomato, onion, cilantro, and serrano chiles. This delicious salad can be served as a side dish with your favorite Mexican dishes, or as a garnish for your favorite soups, stews, tortas, and tacos.

INGREDIENTS:


  • 1 lb. fresh cactus paddles, roughly chopped
  • 3 to 4 sprigs fresh cilantro
  • 1/2 teaspoon salt
  • 2 roma tomatoes, diced
  • 1/2 medium red onion, diced
  • 1/4 cup cilantro, finely chopped
  • 1 serrano chile, finely chopped (optional)

INSTRUCTIONS:


  1. Combine the nopales, cilantro sprigs, and salt in a large non-stick skillet. Let cook over low heat until the nopales start to release their own liquid. Cover and let simmer, stirring occasionally, until all of the liquid has evaporated. Remove from heat; let cool to room temperature.
  2. In a large bowl toss together the cooked nopales, tomato, red onion, cilantro, and serrano chile (if using). Season with salt to taste, if necessary. Cover and refrigerate until ready to serve. Buen provecho!
Created using The Recipes Generator
*You could also add a couple of spoonfuls of Ensalada de Nopales to your scrambled eggs for Huevos con Nopales.


Ensalada de Nopales {Cactus Paddle Salad} & How to Cook Nopales

I am so excited to tell you about this month's Cake Slice Baker's cake.  Ever since my copy of the Southern Cakes cookbook arrived in the mail, the one cake we've all wanted is the Banana Cake with Chocolate Frosting.  But for some reason or another (holidays, my oven not working, illness) I haven't gotten around to baking it.  When I announced to my Hubby and kiddies that April's cake was the Banana Cake, they jumped up and down with excitement.  There is something about Banana and Chocolate that drives us all bananas!

We were not disappointed.

The Banana Cake is super moist and absolutely delicious.  It would make a great snack cake, without any frosting.  I baked it in a 9x13-inch baking pan instead of in two 9-inch round pans.  

And the frosting?  You can never go wrong with chocolate!  I didn't have enough powdered sugar, so I halved the recipe and still had enough to frost the top of the cake.  While writing this post I realized I made a HUGE mistake.  The frosting is supposed to be cooked, but I prepared as if it were a Buttercream frosting.  Oops! 

This cake is definitely a keeper.  Be sure to see what the other Cake Slice Baker's thought of this cake.

Banana Cake (from the Southern Cakes cookbook by Nancie McDermott)

Ingredients:
Banana Cake:

  • 2 cups all purpose flour
  • 1 tsp baking soda
  • 1 tsp baking powder
  • ¼ tsp salt
  • ¾ cup (1½ sticks) butter, softened
  • 1½ cups sugar
  • 3 eggs, lightly beaten
  • 1 tsp vanilla extract
  • ½ cup buttermilk*
  • 1½ cups mashed ripe banana

Chocolate Frosting:

  • ½ cup (1 stick) butter
  • 1/3 cup cocoa powder
  • 1/3 cup evaporated milk or half-an-half
  • 4 cups sifted confectioners sugar
  • 1 tsp vanilla extract

Directions:
* If you don't have any buttermilk, stir in 1-1/2 teaspoons of white vinegar into 1/2 cup of milk.  Set aside for 10 minutes.


While you're waiting for the milk to sour, place the bananas in a medium bowl and mash with a fork or a potato masher.  Set aside.


Preheat the oven to 350 F.  Grease and flour two 9-inch round pans.  (Or a 9x13-inch baking pan.)   Combine the flour, baking soda, baking powder and salt in a medium bowl and stir with a fork to combine well.


In a large bowl, combine the butter and sugar and beat well, about 2 minutes.


Add the eggs, one by one, and then the vanilla. Beat well for 2 to 3 minutes, scraping down the bowl occasionally until you have a smooth batter.


Using a large spoon or wire shisk, stir in half the flour just until it disappears into the batter.


Stir in the buttermilk.


And the remaining flour in the same way.


Quickly and gently fold in the mashed banana.

.


Pour the cake batter into the cake pan(s).


Bake at 350F for 25 to 30 minutes until the cake(s) are golden brown, spring back when touched lightly in the center.


To make the frosting, combine the butter, cocoa and evaporated milk in a medium saucepan. Place over medium heat and bring to a gentle boil. Cook, stirring often for about 5 minutes, until the cocoa dissolves into a dark shiny essence. Remove from the heat and stir in the confectioners sugar and vanilla. Beat with a mixer at low speed until you have a thick smooth frosting.  (I still can't believe that I didn't catch this part!)


Spread frosting over cake.


Enjoy!!!


With Love,


Printable Version

Banana Cake with Chocolate Frosting

Chimichangas.  Now that's a word I don't hear everyday in Mexico.  And it wasn't a word I heard growing up in the States either.

When I was little, my grandmother would wrap whatever leftovers she had (mostly beans) in flour tortillas, then fry them in oil until they were golden brown. She called them Burritos Fritos (fried burritos). 

I loved Burritos Fritos and often took them to school for lunch.

It wasn't until I was in my teens, that we learned that these fried burritos had another name.

Now, I've mentioned that my grandparents and I would go camping almost every weekend in Oak Glen, California. Every Friday evening, there was a potluck for all of the campers.

Well, one weekend, Gramm completely forgot about the potluck.  She looked inside our camper's very small refrigerator, hoping to find a little inspiration to prepare a quick dish to share with our fellow campers.

She pulled out a plastic bowl with leftover refried beans, a block of cheese and flour tortillas.  In no time at all, Gramm had prepared a platter full of her Burritos Fritos. 

A few of the women at the potluck raved about how good Gramm's Chimichangas tasted.

Gramm and I weren't sure what a Chimichanga was, and informed the ladies that what they were eating were Burritos Fritos.

The kind ladies were a little surprised to learn that we, being Mexicans and all, didn't know what a Chimichanga was.  They explained that these fried burritos were sold at many a Mexican restaurant and were called Chimichanga's.

Who knew?!

I now make Chimichangas for my kids and they find the name rather amusing.

Chimichangas can be made with just about anything; refried bean, carne asada, grilled chicken, you name it!  I prepared mine with Ground Beef filling.

Traditionally, Chimichangas are deep-fried in oil.  But I prefer to toast mine on a comal (griddle).  And to "kick them up a notch", I like to top them with a little cheese and sauce.

Chimichangas

Ingredients:

  • 3 large dried ancho chilies
  • 2 cups water
  • 1 medium onion, finely chopped
  • 1 to 2 cloves garlic, finely chopped
  • 2 pounds ground beef, pork or chicken
  • 2 medium tomatoes, finely chopped
  • 2 roma tomatoes, cut in large chunks
  • 1/2 medium onion, cut in large chunks
  • 1 clove garlic
  • 1 teaspoon chicken bouillon
  • Flour Tortillas
  • Shredded Manchego or Cheddar cheese


Directions:
In a small saucepan, bring the dried ancho chilies and 2 cups of water to a boil.  Remove from heat and let cool slightly.


Remove the seeds and stems from the chilies.  Puree in blender, with the water they were cooked in, until smooth.


Heat 2 tablespoons of vegetable oil in a large skillet, over high heat.  Sauté the chopped onion and garlic for 2 minutes.  Add the meat and continue to cook over high heat until the meat is no longer pink.


Stir in the tomatoes and chili puree; season with salt and pepper.  Cover skillet and reduce heat to low.  Let simmer until almost all of the liquid has absorbed.


While the meat is cooking, puree the tomato and onion chunks, with the garlic, chicken bouillon and 2 cups of water.


Pour puree into a saucepan.  Bring to a boil over medium heat.  Reduce heat and continue to simmer until the sauce reduces slightly.


Heat the flour tortillas over very low heat, on a comal or griddle, just until they are very soft and pliable.


Spoon 2 to 3 tablespoons of ground beef filling onto the center of the tortilla.


Fold the outside edges of the tortilla over the filling slightly, to prevent filling from spilling.


Finish rolling up the tortilla to form a burrito.


Place the burritos seam side down on the comal or griddle and toast the burritos until they are a light golden brown on all sides.


To serve, place the burritos seam-side down on a plate.  Top with shredded cheese and warm tomato salsa.  Serve with Mexican Rice and Refried Beans.  Enjoy!!!


With Love,

Chimichangas

You can take the girl out of the U.S., but you can't take away my love for the American version of Mexican food.

My grandparents loved Americanized Mexican food as well, although they weren't big fans of the "Mexican" fast-food chains.

Gramm would prepare a ground beef filling using canned enchilada sauce.  She used the filling for tacos, tostadas, burritos and chimichangas.

When I get a little homesick for my North of the Border Mexican food, I prepare my version of Gramm's filling.

Ground Beef Filling

Ingredients:

  • 3 large dried ancho chilies
  • 2 cups water
  • 1 medium onion, finely chopped
  • 1 to 2 garlic cloves, finely chopped
  • 2 pounds ground beef, pork or chicken
  • 2 medium tomatoes, finely chopped


Directions:
In a medium saucepan, bring the dried ancho chilies and 2 cups of water to a boil.  Remove from heat and let cool slightly.

Remove the stems and seeds from the chilies.  Puree the chilies and the water they were cooked in, until smooth.  Season with salt; set aside.


Heat 2 tablespoons of vegetable oil in a large skillet over high heat.  Saute the onion and garlic for about 2 minutes.


Add the ground beef and continue to cook over high heat until the meat is not longer pink.


Stir in the tomatoes and chile puree; season with salt and pepper.


Reduce the heat to low; cover skillet and let the meat simmer until almost of the liquid has absorbed. Enjoy!!!


--------------------------------------------------------------------------------------

Now that we have this delicious filling, a tasty North of the Border meal is just minutes away.

Gringo Tostadas

Ingredients:

  • Ground Beef Filling
  • Tostada Shells
  • Shredded lettuce
  • Chopped tomato
  • Shredded Manchego or Cheddar cheese
  • A jar of your favorite Tomato Salsa (I like Salsa El Pato)


Directions:
Spoon a couple of tablespoons of Ground Beef Filling on top of tostada shells.


Top with shredded lettuce, chopped tomato, grated cheese and tomato salsa.  Enjoy!!!


With Love,

Making a run for the border {Ground Beef Tostadas}

What a week this has been!

I've had ups.  I've had downs.  And all because of one teeny, tiny, little change to this blog.

When I first started the Recipes by Leslie blog, I wanted to purchase my own custom domain.  But I wasn't even sure if I was going to like having a food/recipe blog, so Hubby suggested that I wait.

Hubby said that if after a year, I was still actively involved with this blog, he would purchase my custom domain as a blogiversary present!

Well...guess what?  My one year anniversary is a little more than a week away.  And Hubby kept his promise.  On Sunday, we purchased our custom domain.

I really wanted to keep the Recipes by Leslie name, but it wasn't available.

What to do?

Hubby and the kiddies quickly came up with a long list of suggestions.  Some were too long and/or too complicated.  The shorter ones were taken.  Some were in Spanish.  Others were in English.  This went on for a while, until finally the kiddies came up with something we all liked...La Cocina de Leslie (Leslie's Kitchen).

As soon as I made the purchase, I was informed that it would take up to 3 days for it to be fully functional.  This wasn't a problem, because the blog was still accessible through the blogspot address.

But yesterday, I had a slight panic attack.

I tried to access my blog with both the custom domain and the Recipes by Leslie address.  Both resulted in "Error.  Requested URL not found."

I immediately contacted the folks at Google Help.  In less than five minutes, www.lacocinadeleslie.com was up and running!

To celebrate the new address, I've made a few changes with the header and am trying to decide on a background.  What do you think?  Love it?  Hate it?  Any suggestions?

Changes...


I ♥ cookbooks!  So, when I read about Michel-lee's Cookbook Swap a few weeks ago, I jumped at the chance.

I was a little worried that I wouldn't be able to participate because I do live in Mexico and shipping can get pretty expensive.

But then, Monica from Lick the Bowl Good was kind enough to offer to ship a cookbook to me so that I could participate. For that kind and generous gesture, I am an even bigger fan of Monica than before.


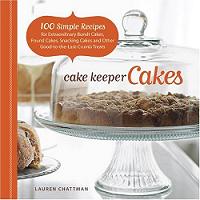
The cookbook Monica sent me was Cake Keeper Cakes by Lauren Chattman.  


I love it!  This book was actually on my wishlist.  It is full of yummy cake recipes that are "too simple and delicious to reserve for birthdays and anniversaries."

The book is divided into the following chapters:
  • Snack cakes 
  • Round cakes
  • Loaf cakes
  • Bundt cakes
  • Crumb cakes & other cakes baked in a Springform pan
  • Angel Food & Chiffon cakes
I already have a long list of cakes that I want to bake from Cake Keeper Cakes, like  Chipotle-Chocolate Cake, MangoUpside-Down Cake, Dulce de Leche Coffee Cake and Nutella Swirl Pound Cake.

A very big THANK YOU to Michel-lee and Monica for making my first cookbook swap a memorable experience! 

I leave you with these lovely pics from my Cake Keeper Cakes cookbook.  Enjoy!!!

Sour Cream and Lemon Cake


Peanut Butter & Jelly Crumb Cake

Nectarine Cake with Cinnamon-Nut Topping

Maple Syrup Gingerbread

Peanut Butter-Sour Cream Bundt Cake
with Butterfinger Ganache Glaze

Cranberry-Walnut Bundt Cake
with Maple-Espresso Glaze


With Love,

Cookbook Swap...