Chocolate cake?  Or vanilla?

Life is full of tough decisions.

If you're anything like me and have a hard time deciding between chocolate or vanilla cake, then you're going to love this month's Cake Slice Baker's selection...Zebra Cake!  Just the name of this cake was enough to win me over.  (It appealed to my inner Peggy Bundy.  What can I say?  I'm a red-head who's wild about animal prints!)   

Zebra Cake is a vanilla and chocolate striped cake, very much like a Rainbow Cake, only with more stripes and without all of the bright colors.  I didn't get as many stripes as I should have, because I baked the cake into two 9-inch rounds, so I could share one with my visiting sister-in-law. 

I loved this cake!  It was so light and tender.  And the flavor was a subtle balance of butter, vanilla and chocolate.  This Zebra Cake is definitely a keeper!  

Zebra Cake
(from Cake Keeper Cakes by Lauren Chattman)

Ingredients:
  • 2 cups flour
  • 1 tablespoon baking powder
  • 1/4 teaspoon salt
  • 4 large eggs
  • 1 cup sugar
  • 1 cup milk
  • 1/2 cup butter, melted and cooled
  • 1/2 cup vegetable oil
  • 2 teaspoons vanilla extract
  • 2 tablespoons cocoa powder

Directions:
Preheat oven to 350F.  Grease and flour a 9-inch round cake pan; set aside.  (The recipe says to line the bottom of the pan with parchment paper, then grease and flour the parchment as well.  But you know me, I'm a rebel.  I skipped this step and didn't have any problem getting the cake out of the pan.)


In a 2-cup measuring cup combine the milk, melted butter, vegetable oil and vanilla; set aside.  (This step isn't part of the recipe, but I think measuring out and combining all of the liquid beforehand makes whipping this cake up that much easier.) 


 In a medium bowl, combine the flour, baking powder and salt; set aside.


Combine the eggs and sugar in a large mixing bowl.


Beat with an electric mixer on high speed until thick and pale.  (About 5 minutes.) 

The whipped eggs and sugar looked so inviting, I wanted to dive in and take a swim.

 With the mixer on low speed, add the milk, butter, vegetable oil and vanilla mixture, making sure to occasionally scrape the sides of the bowl.


Stir in the flour mixture 1/2 cup at a time.


Pour 1/3 of the batter (about 1-1/2 to 1-3/4 cups) into another bowl and whisk in the cocoa powder.


Pour 1/4 cup of the vanilla batter into the center of the cake pan, followed by 3 tablespoons of the cocoa batter directly in the center of the vanilla batter.  


Continue alternating the vanilla and cocoa batters until you've used all of the batter.  Bake at 350F for about 40 minutes or until toothpick inserted in the center comes out clean.  Cool in pan for 10 minutes. 


Serve and enjoy!!!


Printable Version


Photobucket

Cake Slice Bakers: Zebra Cake


This week marks my kiddies' second week of Summer vacation and to celebrate I baked them a batch of my Mexican Chocolate Chunk cookies that kiddies of all ages love.

These cookies are special for two reasons.  One, is that I use Mexican Chocolate tablets in place of baking chocolate or chocolate chips.  This adds just a hint of cinnamon to the cookies.  The other reason that makes these cookies so special is that I use another traditional Mexican ingredient...Piloncillo.  It's what gives these cookies their unique flavor.

Piloncillo is unrefined sugar that is shaped into cones.  Piloncillo has a distinct molasses flavor and can be grated or melted to use in a number of recipes as a delicious substitute for brown sugar or molasses.  But please note that Piloncillo can be very hard.  Grating can take quite a while, but it's well worth the effort.  An easier way to grate piloncillo is to carefully and finely chop it with a large kitchen knife.  Don't worry if some pieces are bigger than others.  They'll melt once they're in the oven. 

I like my chocolate chip cookies with chopped pecans, but my kiddies aren't too nuts about them.  With or without nuts, these are absolutely delicious.  

Mexican Chocolate Chunk Cookies

Ingredients:
  • 2-1/4 cups flour
  • 1 teaspoon baking soda
  • 1 teaspoon salt
  • 2/3 cups butter (at room temperature)
  • 3/4 cup grated piloncillo (packed)
  • 1/2 cup granulated sugar
  • 2 eggs
  • 1 teaspoon vanilla 
  • 3 tablets Mexican chocolate, cut in small chunks (I use Abuelita or Ibarra)
  • 1 cups coarsely chopped pecans (optional)

Directions:
Preheat oven to about 375F.  In a medium bowl, combine the flour, baking soda and salt; set aside.


 In a large mixing bowl, cream the butter, sugar and grated piloncillo until well combined. 


 Add eggs, one at a time, scraping sides of bowl after each addition.

Farm-fresh eggs really intensify the color of the cookie dough! :P


 Add vanilla.  Set electric mixer aside.


 Stir in flour with a wooden or metal spoon until well combined.


Stir in Mexican chocolate chunks and pecans, if desired.


Drop dough by rounded tablespoonfuls onto ungreased baking sheet.


Bake at 375F for 8 to 10 minutes.  Remove from oven and let the cookies cool on the baking sheet for 1 minute.  Transfer to heat proof plate.


Serve with a glass of ice cold milk.  Enjoy!!! 


*Note: Someone is using a new camera!  (On loan indefinitely from my most awesome brother-in-law.  Muchisimas gracias, Gerry!) 

Photobucket

Mexican Chocolate Chunk Cookies

Aguas Frescas are a refreshing beverage traditionally served at lunch or dinner. But did you know that Aguas Frescas can also be served at breakfast? One of my favorite aguas frescas to serve with our morning meal is Agua de Guayaba (Guava). The distinct flavor of the guavas wakes you right up. And guavas are an excellent source of vitamic C.  Talk about a great way to start the day!

Agua Fresca de Guayaba - lacocinadeleslie.com

Agua de Guayaba (Guava Agua Fresca)

Valentina hot sauce, how do I love thee?  Let me count the ways.

I love you on my fresh fruit snacks.

I love you on my Saucy and Spicy Chicken Wings.

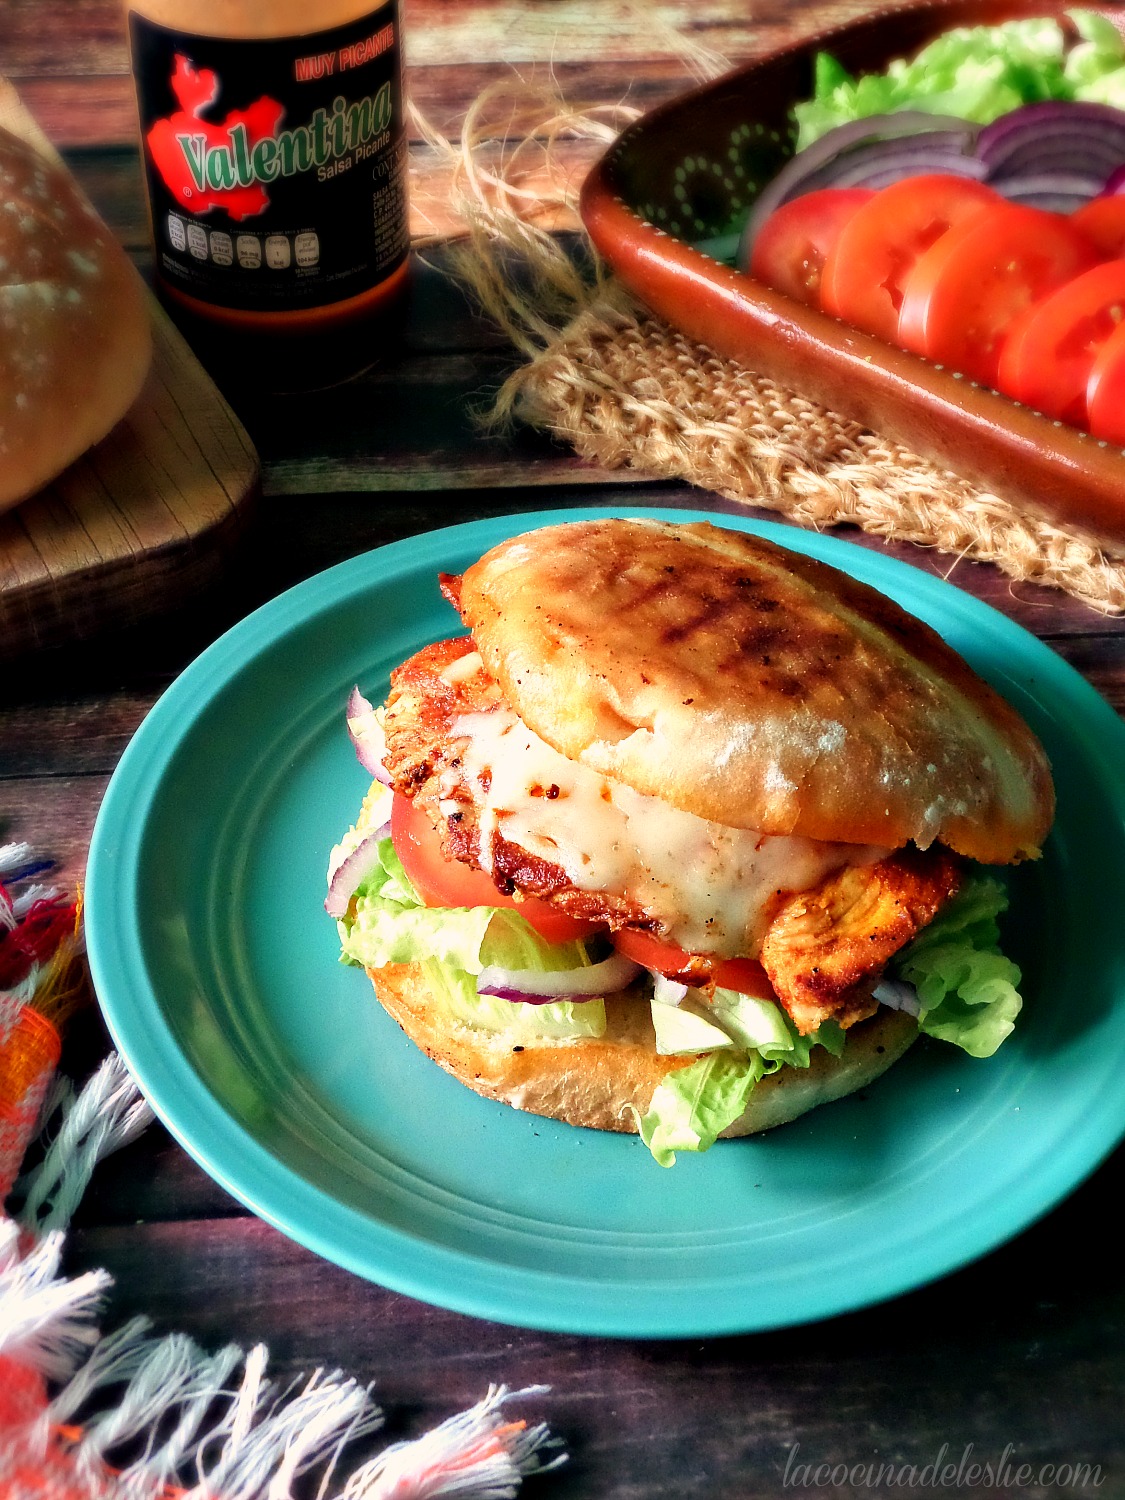
And I love you in my Spicy Valentina Chicken Sandwiches.

But I do believe I love thee most on my Roasted Chicken.

And I'm sure everyone else will love thee as well, once they try this recipe.


Valentina Roasted Chicken & Potatoes

Ingredients:
  • 1 whole chicken (4 to 5 pounds) 
  • 1 cup Valentina hot sauce
  • 1/3 cup melted butter
  • 6 to 8 potatoes, cut in bite-size pieces

Directions:
Preheat oven to 450F.  Rinse the chicken inside and out, then pat dry with paper towels.  Season generously with salt and pepper.  Place the chicken in a 13 x 9-inch baking pan lined with aluminum foil.  Set aside.  If you prefer, you can truss the chicken.  I was kind of pressed for time, so I skipped that step.

In a medium bowl or saucepan, combine the melted butter and Valentina hot sauce. 


Generously brush the insides and outsides of chicken with the Valentina mixture.  Tuck the wings under the chicken to prevent burning. 


Toss the potatoes with the remaining Valentina mixture. Season generously with salt and pepper.


Arrange the potatoes in the baking pan, around the chicken.  Bake in oven at 450F until the skin has turned a nice golden brown.  Reduce oven temperature to 350F.  Cover baking pan with aluminum foil.  Bake for an additional 30 to 45 minutes or until the juices run clear when the chicken is pierced with a knife behind the thigh.  Remove the chicken from oven, but let sit covered for 10 minutes before serving.


Serve with Refried Beans, plenty of warm tortillas and a green salad.  Enjoy!!!


Photobucket

Valentina Roasted Chicken & Potatoes

Whenever anyone asks me what I miss most about the U.S. my answer is always the same:

      1.  Family & Friends
      2.  Holidays
      3.  Food

In that order.

I've written about some of the things that I miss most on my other blog, La Casa de Leslie.  (Shameless plug!)  But being that La Cocina de Leslie is a food blog, I thought this would be the perfect place to write a little more about the food.

Oh, how I miss the food!!!  


And not just certain foods.  I know many of us Mexpats miss pickles and cheddar cheese. But I also miss the variety of cuisines available: Chinese, Japanese, French, Indian, Thai, Italian, etc.

Yes, many of these cuisines can be found in the larger cities of Mexico.  But I live in a small town.  Most of the restaurants here are what we call Fondas or Cocina Economica that serve much of the same delicious Mexican food that I make at home.

There have been a handful of pizzerias and Japanese and Chinese restaurants that have opened their doors.  Some good, others not so good.  Sadly, many of the good ones have closed.  My favorite pizzeria closed it's doors last week.

As a home cook, I try to make up for that lack of variety in my own kitchen.  Not an easy feat, because many of the ingredients just aren't available where I live.  But still, I try to make do with what is on hand.

And that brings us to today's recipe...Pollo a la Naranja 2.0.  An Asian inspired spin-off of my Pollo a la Naranja 1.0 recipe. 


Pollo a la Naranja 2.0
(Orange Chicken)

Ingredients:
  • 1-1/2 cups cornstarch or flour (I use unflavored Maizena
  • 3 eggs, slightly beaten 
  • 2 pounds boneless, skinless chicken breasts (cut in bite-size pieces)
  • 2 tablespoons butter
  • 2 tablespoons olive oil
  • 1 large onion (cut in bite-size pieces)
  • 2 green bell peppers (cut in bite-size pieces) 
  • 2 red bell peppers (cut in bite-size pieces)
  • 1-1/2 cups freshly squeezed orange juice
  • 1 orange (zest only) 
  • 1 tablespoon cornstarch

Directions:
Place the cornstarch in a large bowl and season generously with seasoning salt and pepper.  Mix well to combine; set aside.  You can use either cornstarch or flour, but cornstarch will result in a crispier coating.   


Dip the chicken in the beaten eggs until evenly coated.  Remove the chicken with a slotted spoon and transfer to the bowl with the cornstarch mixture.


Dredge the chicken in the cornflour mixture, making sure each piece is evenly coated.


Heat the butter and olive oil in a large skillet over medium-high heat until butter has melted.  Add the chicken in 2 or 3 batches.


Fry the chicken until golden brown on all sides.


Transfer the chicken to a heatproof plate.  Continue with the remaining chicken until it has all been cooked and transferred to the heatproof plate.


Once all of the chicken has been cooked, reduce heat to medium and add an additional tablespoon of olive oil (if necessary) to the skillet where the chicken was browned.  Add the onions and bell peppers and sauté until slightly tender.  (About 3 to 4 minutes.)


Return the chicken to the skillet with the onions and bell peppers and continue to saute an additional 3 to 4 minutes.


Pour the orange juice and zest over the chicken and continue to cook over medium heat until the juice starts to boil.


Dissolve the tablespoon of cornstarch in a tablespoon of cold water.  Pour over chicken and let cook for a couple of minutes until the juice thickens.  Remove from heat.


Serve with Arroz Blanco. Enjoy!!!


* If you're anything like my hubby and prefer a little spice, top with red pepper flakes.  Oh-so-delicious! 

Photobucket

Pollo a la Naranja 2.0

Banana Peppers
Growing up, Pappy's Chiles Rellenos were the only kind I knew.  They were never too spicy.  The coating was always crisp.  And the combination of Queso Fresco and American cheese was the perfect filling.

It wasn't until I married Hubby that I learned that Chiles Rellenos were traditionally made with poblano peppers covered in a batter made solely with eggs.

Pappy made his Chiles Rellenos with Anaheim peppers and coated them with a flour, milk and egg batter.

As much as I have come to love the more traditional Chiles Rellenos, my grandpa's Chiles are still my favorites.  Although, I have made one teeny, tiny change to the batter by substituting beer for the milk.  And well, we all know that beer makes everything better, right?

 
Beer Batter Fried Chiles Rellenos

Ingredients:
  • 12 Anaheim or Banana Peppers  (I couldn't find Anaheims)
  • Queso Fresco
  • 12 slices American Cheese 
  • 2 cups flour
  • 1 teaspoon salt
  • 2 eggs
  • 1-3/4 to 2 cups very cold beer
  • 1 cup vegetable oil (for frying)

Directions:
Roast the chilies on a comal or griddle over medium-high heat until the skin is slightly charred and begins to blister.


Wrap the roasted chilies in a plastic or paper bag for about 5 to 10 minutes.  This allows the chilies to sweat and makes removing the skin much easier. 


 Remove the chilies from the plastic bag and peel off the charred skin.


 Cut the chilies down the side.  Remove the seeds.


Stuff the chilies with queso fresco and one slice of American cheese, cut into thirds.  Close chilies and secure with a toothpick. 


Prepare the Beer Batter by combining the flour, salt, eggs and beer.  Add just enough beer so that the batter resembles thin pancake batter.  Set aside.


Dredge the stuffed chilies in flour, making sure they're evenly coated.  Shake off excess flour.  This would be an excellent time to start heating a skillet filled with 1 cup of vegetable oil over medium heat.


Dip the chilies in the beer batter until evenly coated.


Carefully lay the chilies in the skillet (no more than 3 or 4 at a time) and let fry in the hot oil until golden brown on both sides.   Transfer the chilies to a heatproof plate lined with paper towels to drain excess oil, while you continue to fry the remaining chilies.


Serve with Mexican Rice and Refried Beans Enjoy!!!  


Photobucket

Linking up with Girlichef & E Kat's Kitchen for Friday Potluck!

friday potluck guest host girlichef

Beer Batter Fried Chiles Rellenos