One-Pot Mexican Chocolate Brownies trio

I couldn't celebrate the 4th of July without a classic American dessert, so I went into my kitchen and whipped up a batch of my favorite brownies.

I came up with this recipe when I first moved to Mexico.  After having lived here a couple of months, I was starting to crave some good ol' fashioned chocolaty brownies.  As usual, the ingredients necessary weren't available in my small town.  There were no box mixes that I could whip up in a jiffy, nor was there any good, dark baking chocolate or cocoa.

I wasn't about to let a silly little thing like a few missing ingredients stop me from enjoying my brownies, so I looked around the tiny store where I did most of my shopping to see what I had to work with.  As I walked up and down the aisles, I spotted a very familiar ingredient...Abuelita brand Mexican Chocolate tablets.  The kind my abuelito used to make Mexican Hot Chocolate, and the same kind my suegra uses for her Mole Dulce.  I picked up a box of chocolate and thought to myself,  "Hmmm. I wonder if this will work?"  Without another thought, I grabbed a few more ingredients, like butter and pecans, and walked home as soon as I could to get started on my newest creation.

My original recipe for Brownies called for 2 sticks of butter, which I added, but had completely forgotten that Mexican sticks of butter are smaller than U.S. sticks.  Mexican sticks weigh 90 grams each (about 3 ounces), as opposed to U.S. sticks of butter that weigh 4 ounces (113 grams).  Oops!

Since I was working with Mexican chocolate, I decided to add a little cinnamon to enhance the chocolate's flavor.  I also stirred in a bunch of pecans.  And well, the rest is history.

And now these chewy brownies are one of my kiddies' favorite desserts. 

Not crazy about cinnamon or pecans in your brownies?  No problem!  These brownies are still delicious if you leave them out.  I didn't add them yesterday and no one seemed to mind.  But that's just between you and me.


Mexican Chocolate Brownies

Ingredients:
  • 180g. butter (about 6oz.)
  • 2 tablets Mexican chocolate
  • 1/2 teaspoon salt
  • 2 teaspoons vanilla extract
  • 2 cups sugar
  • 4 eggs
  • 1 cup flour
  • 1 teaspoon ground cinnamon (optional)
  • 1 cup chopped pecans (optional)

Directions:
Preheat the oven to 350F.  Generously grease a 13 x 9-inch baking pan or dish with butter; set aside. 

One-Pot Mexican Chocolate Brownies Prep 1


Chop each of the Mexican chocolate tablets into 8 pieces. 

Mexican Chocolate


Place the chocolate and the butter in a medium saucepan.

One-Pot Mexican Chocolate Brownies Prep 2


Simmer over low heat until both the chocolate and butter have completely melted, stirring occasionally with a wire whisk to prevent the chocolate from sticking to the bottom and possibly burning.  Remove from heat.

One-Pot Mexican Chocolate Brownies Prep 3


Whisk in the salt, cinnamon (if desired), vanilla and sugar until well combined.

One-Pot Mexican Chocolate Brownies Prep 4


Add the eggs to the chocolate mixture one at a time, until well combined.

One-Pot Mexican Chocolate Brownies Prep 5


Gently stir in the flour.  You may want to switch to a wooden spoon, because the batter will be a little gooey.  Stir in nuts. (If desired.)

One-Pot Mexican Chocolate Brownies Prep 6


Spread the batter into the prepared baking dish and bake at 350F for about 20 to 25 minutes or until the brownie springs back when lightly pressed.  Let the brownies cool in pan for 10 minutes.

One-Pot Mexican Chocolate Brownies Prep 7


Cut the brownies into squares and serve with a glass of milk.  Enjoy!!! 

One-Pot Mexican Chocolate Brownie

*Keep any leftover brownies in an airtight container.


Photobucket

“I’m sharing my awesome with Momma Made It Look Easy and you can too.”

Mexican Chocolate Brownies

Being that today is the 4th of July, I thought it would be the perfect day to tell you about the newest addition to my cookbook collection: United Cakes of America: Recipes Celebrating Every State by Warren Brown (author of Cake Love).

As soon as I opened my package from Amazon, which only took 2 weeks to arrive, I was pleasantly surprised at the size and weight of the book.  Not at all what I expected for $11.98. (Not including international shipping and handling fees.)  It kind of reminds me of those heavy school books from long ago.  If only my school books had been as cute and interesting.

I love the patriotic red, white and blue Americana theme throughout.  From the cut-out in the shape of the United States on the front cover, to the state seal of an eagle holding a fork and a whisk, to the special "Slice of America" pages filled with fun facts about cake baking in America.

My favorite part of the whole book has to be the preamble written on a rolled out pie crust scroll that begins:
"We the people who love cake, in order to bake a more perfect dessert, reestablish the standard that true cake is baked from scratch..."
Because as a foodie living in a small town in Mexico, where canned and pre-packaged ingredients can be hard to find, I truly appreciate any cookbook where the recipes are made from scratch, using simple ingredients that are easy to find.  The hardest to find ingredients that I've spotted so far are canned sauerkraut and potato starch.  But that last ingredient can be substituted with cornstarch, so not really a problem after all.

The book is divided into four sections:
  • The Northeast (which also includes the District of Columbia)
  • The South (plus Puerto Rico)
  • The Midwest
  • The West
There is at least one recipe for each of the fifty states, plus recipes for American classics such as Strawberry Shortcake, Caramel Cake and Yellow Cake with Chocolate Frosting.  And while most of the recipes are for cakes, there are also a couple of recipes for pies, scones and pancakes.  I tried the Johnnycakes recipe last weekend and they disappeared like hotcakes.


In addition to the 7-Up Pound Cake I posted last week, there are so many mouth-watering recipes that I want to try: (just to name a few) 
  • Whoopie Pie
  • Kentucky Derby Cake
  • Coca Cola Cake
  • Roasted Pecan Cornbread
  • Coffee Buttercream 
  • Avocado Cupcakes (Hello, California!)
  • Jalapeño Cheddar Cheesecake
  • Ancho Chile Buttercream  

I think it's such a genius idea to have all of these American favorites (old and new) in one cookbook.  But I can't help but wish that there were also a United Cakes of Mexico cookbook.
   

Photobucket

*Note: I paid for this book with Hubby's money and I am not being compensated in any way for this review.  But I wouldn't mind doing so in the future.


Cookbook Review: United Cakes of America

Nick, my son and grillmaster!

 I know that many of my friends NOB (North of the Border) are getting ready to fire up the grill this holiday weekend and I've got a recipe that you just have to try...Chiles Güeros Rellenos y Asados (Grilled & Stuffed Yellow Peppers).

This recipe has been sitting in my drafts folder for a couple of months, because the photographs really aren't that pretty.  But the chilies themselves are so sweet and tender with just enough heat to leave you wanting more, that I couldn't keep this recipe hidden any longer.

Chiles Güeros are a must when hosting a Carne Asada, but you can also make them on your stovetop. There really isn't much to this recipe besides the chilies and the cheese.  Traditionally, Chiles Güeros are prepared with Queso Fresco, but you could also use Oaxaca or Asadero Cheese, which is what I prefer.  I love how the cheese just oozes out with every bite.

I bet you can't eat just one! 

    
Chiles Güeros Rellenos y Asados
(Roasted Stuffed Yellow Peppers)


Ingredients:
Yellow Peppers (You'll need at least 2 or 3 per person)
Oaxaca or Asadero cheese or Queso Fresco

Directions:
Cut the chilies open lengthwise.  With the help of a spoon, carefully scrape out the veins and seeds.


Stuff the chilies with lots of cheese.  If you're worried that the cheese will fall out, you can close the chilies and secure with a toothpick. 


Roast the chilies on the grill or comal over a low flame, turning occasionally until the cheese has completely melted and the chilies are tender.

No toothpicks!  I'm a rebel! :P


Remove the chilies from the heat and transfer to a heatproof plate.


Serve with Carne Asada, Cooked Beans and Mexican Rice Enjoy!!!


Roasted Stuffed Yellow Peppers

Summer weekends were made for cooking outdoors, especially 3-day weekends.  Whether you're cooking on a fancy gas grill or over a fogata (bonfire), food cooked outdoors, over an open flame just tastes better.  While traditional grilling fare might be hamburgers, hot dogs, chicken and carne asada, I've got something that I think you're really going to like...Pescado Frito (fried fish), cooked al fresco.

A crispy, golden fish that needs nothing more than a little salt and pepper and a squeeze of lime juice. 


All you need is an open flame and a cast iron wok or skillet.  Or if you're lucky and happen to live in Mexico, you can have a disco made from recycled tractor parts. (Ask your local welder or tractor repairman for details.) 

You'll also need some manteca (lard) or vegetable shortening to fry the fish in.  You could use vegetable oil, but the manteca really makes for a more flavorful fish. 

As for what kind of fish to fry, that is entirely up to you.  We prefer to use Robalo or Mojarra, but any whole fish will do.  My mom loved to fry catfish and trout.  Just make sure that your fish has been cleaned, inside and out.  Then rinse thoroughly and dry completely with paper towels.  (The last thing you want to do is drop a wet fish into boiling lard.)  

The following recipe is enough to feed a large crowd.  This is exactly how much we prepared to feed the entire family during our Semana Santa (Holy Week) Camping Trip at El Rancho.  Adjust the recipe to your individual needs.  Just keep in mind how many people you will be cooking for and the size of the fish you'll be frying.  With smaller fish, you'll need at least one per person, while a larger fish will feed two, three or even four people.   


Pescado Frito

Ingredients:
  • 1 Kilo (2 pounds) Manteca or Vegetable Shortening
  • 10 to 12 mojarras or robalo (fish)

Directions:
Over medium-high flame, heat the disco or cast iron wok/skillet for about 5 minutes.

Disco en Llamas


Carefully add the manteca and let it melt completely.

Manteca Melting


Very gently, lay the fish in the hot manteca (lard).  No more than 3 fish at a time, so that they can cook evenly.  Let the fish cook for about five minutes or until the underside has turned a deep golden brown.  Very carefully turn the fish over and continue to cook until golden brown on the other side.

Fish Fry


Season with salt and freshly ground black pepper.  Serve with lime wedges.  Enjoy!!! 

Pescado Frito


Photobucket

Good Old-Fashioned Mexican Fish Fry

Did you ever play Heads Up, Seven Up when you were a kid?  It was the one thing I looked forward to most on those rainy days when we weren't allowed to play outside for recess.  I always had so much fun playing and trying to guess who had touched my thumb and I just loved that it was named after one of my all-time favorite sodas, 7-Up.  (Or Siete Arriba, as my kiddies like to call it.  In Mexico, we just call it Seven.)

Well imagine my surprise as I leafed through my new United Cakes of America cookbook and came across a recipe for 7-Up Pound Cake.

A cake made with 7-Up!  I've heard of Coca-Cola and Dr. Pepper cakes, but never a 7-Up cake.   As weird as it sounded, I couldn't help but think that the combination of 7-Up and lemon juice (I used lime juice) would make a nice flavor combination for a cake.

It wasn't just a nice combination, it was a match made in Heaven.  This cake was full of lemony flavor and everything a pound cake should be.   If I hadn't made the cake myself, I never would have guessed that it was made with 7-Up.   

I can't think of a better way to kick off 31 Days in My Cocina than with a delicious pound cake that goes perfectly with my lemon/lime theme.
 

7-Up Pound Cake
(adapted from United Cakes of America)

Ingredients:
  • 2-1/2 cups all purpose flour
  • 1 tablespoon cornstarch (I used unflavored Maizena)
  • 1/4 teaspoon baking soda
  • 1/4 teaspoon salt
  • 3/4 cup 7-Up 
  • 1/4 cup lemon or lime juice
  • 2 teaspoons vanilla extract
  • 1-1/2 cups butter, softened
  • 2 cups sugar
  • 5 whole eggs
  • 2 egg yolks
  • 1 cup powdered sugar
  • 2 tablespoons milk

Directions:
Preheat the oven to 335°F and place oven rack in the center position.  Lightly grease and flour a 12-cup Bundt pan or any tube pan you have on hand.  (I have yet to find a Bundt pan here in Mexico.) 

In a medium bowl, combine the flour, cornstarch, baking soda and salt; set aside.

Pound Cake Prep 1


 In a separate bowl or measuring cup, combine the 7-Up, lemon juice and vanilla; set aside.

Pound Cake Prep 2


In a large mixing bowl, cream the butter and sugar with an electric mixer on low speed until very light and fluffy.

Pound Cake prep 3


Add the eggs and egg yolks one at a time, making sure to scrape the bowl occasionally, to ensure that everything is thoroughly combined.

Pound Cake Prep 5


Alternately add the flour and 7-Up mixtures, a quarter at a time, until everything is well combined.

Pound cake prep 6


Gently pour the batter into the prepared pan.  Bake at 335°F for about 50 minutes or until a toothpick inserted in the center comes out clean. 

Pound Cake batter


Let the cake cool in the pan for 5 minutes, then invert it onto a heatproof plate and let cool for an additional 15 minutes.  While the cake is cooling, prepare the glaze by mixing the powdered sugar and 2 tablespoons of milk in a small bowl.  (If the glaze is too thick, add a little more milk until desired consistency.) 

Simple Glaze


Slowly drizzle glaze over cake.  Enjoy!!!

Pound Cake


Photobucket

Heads Up, 7-Up! {Pound Cake}

Even as I sit down to write this post, I can't believe that I'm actually going to go through with it.  But it's something that I've wanted to do since the first time I tried it on my other blog, Motherhood in Mexico

I cook every day, two or three times a day, sometimes more.  So why not take pictures of what I'm cooking and post a new recipe every day for a month? 

This month.

July. 

I am going to post a new recipe (or food related article) every day in July!!!

All thirty-one of them.

Just because.

I even signed up with NaBloPoMo (National Blog Posting Month) as a way to hold myself accountable. 

Wish me luck! 

And tune in to La Cocina de Leslie every morning for the recipe of the day. 

Photobucket

31 Days in My Cocina


Cream of Broccoli Soup - lacocinadeleslie.com

It is said that every cook/chef should have a signature dish. You know, that one dish that everyone loves and requests that you make it over and over again. While my cakes and pies are the most requested by friends and family, and my bread rolls along with my creamy mashed potatoes & gravy are a must for holidays, I recently learned that there is another dish that everyone considers to be my "signature" dish...My Crema de Brócoli (Cream of Broccoli soup).

My signature dish: Cream of Broccoli Soup

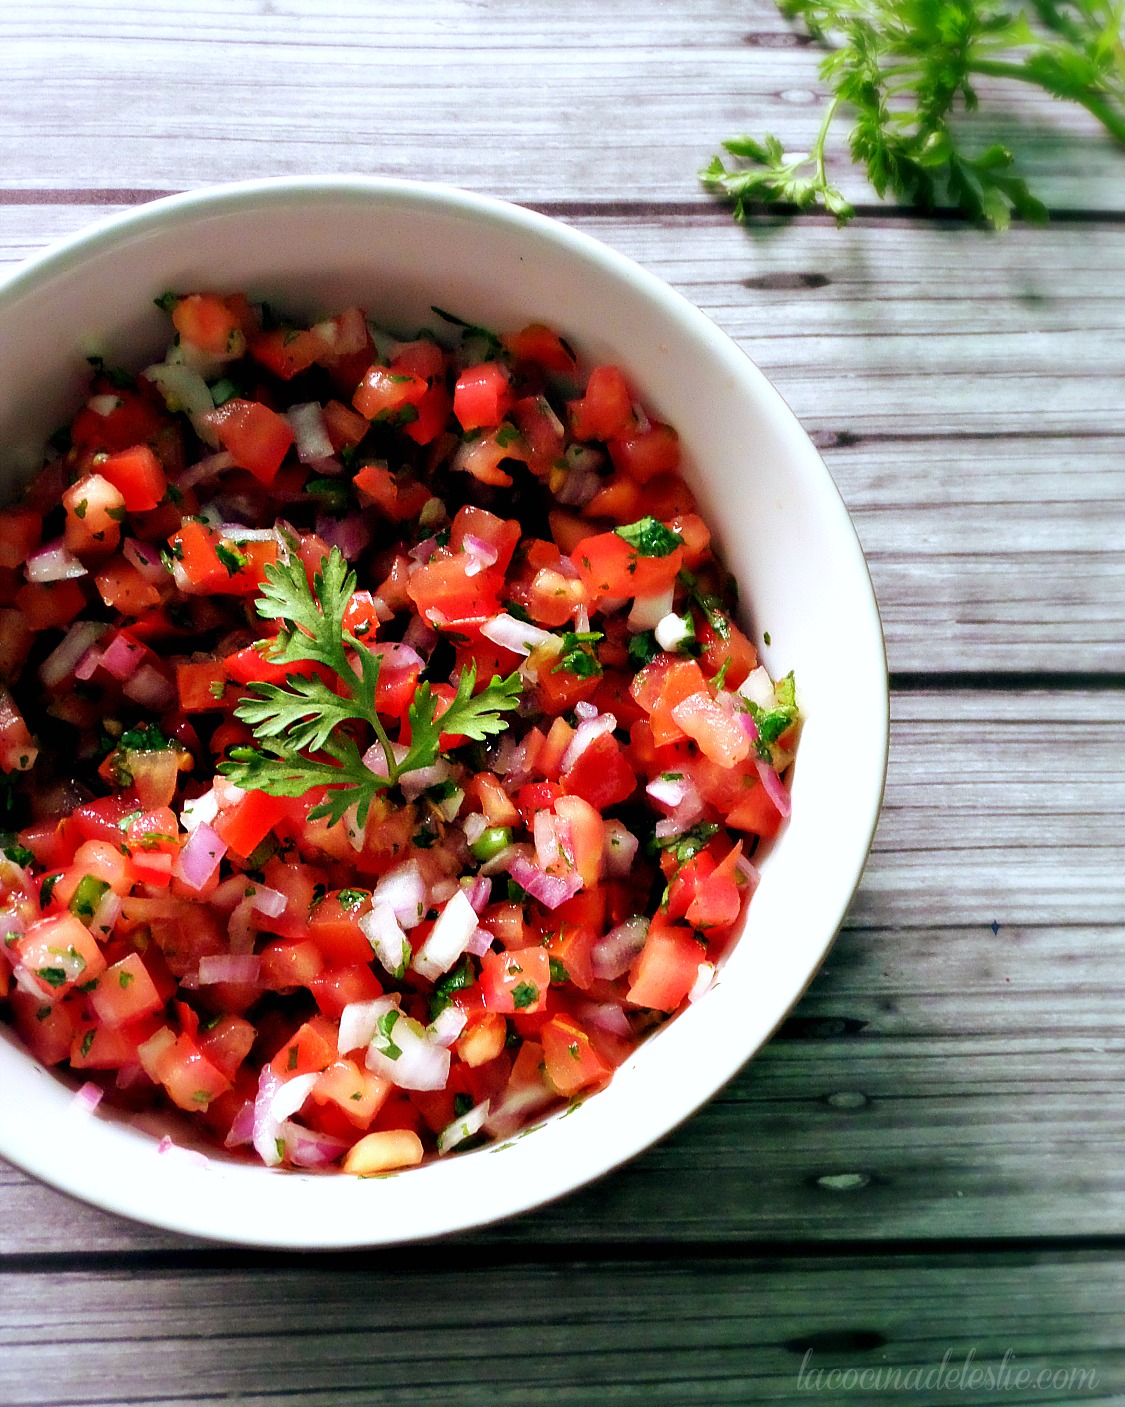
Pico de Gallo, also known as Salsa Mexicana or Salsa Fresca, is one of the most popular salsas in Mexico. And also one of the easiest to make.

Mexican Pico de Gallo Salsa - lacocinadeleslie.com

Traditionally pico de gallo is made with fresh ingredients in the color of the Mexican flag (red, white, and green). I like to add even more color by using red onion. I also prefer to add fresh lime juice to my Pico de Gallo, because it enhances the flavors of the onion, tomato, green chiles, and cilantro.

Pico de Gallo is delicious served over just about anything, including tacos, quesadillas, carne asada, eggs, and even pizza. Or you can serve Pico de Gallo with bowl full of totopos (tortilla chips), because who can resist chips and salsa?!

For a fun twist, try mixing in chopped fresh mango, cucumber, grapefruit, pineapple, or tunas (prickly pears).
 
Salsa Mexicana (Salsa Fresca) - lacocinadeleslie.com

Pico de Gallo
Ingredients:

  • 3 large roma tomatoes, finely chopped 
  • 1/2 medium white or red onion, finely chopped 
  • 2 serrano chilies, finely chopped 
  • 1/4 cup fresh cilantro, finely chopped 
  • 2 limes (optional) 


Directions: 
Combine the tomatoes, onions, serrano chiles, and cilantro in a medium bowl. Squeeze in the juice of two limes; season with salt to taste. Cover and refrigerate until ready to serve. Spoon Pico de Gallo over tacos, quesadillas, and/or eggs. Or serve with totopos (tortilla chips). Enjoy! 


Comfort Food Classics: Pico de Gallo

Oops!  I forgot to publish this post earlier this week!  So sorry!

For some time now, I have been working on a new look for La Cocina de Leslie.  There was nothing wrong with the "old" look, I just figured that it was time for a change. 

After searching and searching for a new background, I finally found one that I fell head over heels in love with.  It's the lemon background that you've seen here for the last month or so.  I LOVE lemons and limes and I think they fit in perfectly with my blog, especially since my last name is Limón, which is the Spanish word for lemon.

With the new background, I tried a number of different headers (the top part of the blog), but none of them felt right. Something was missing.  After talking with my good friend Chantilly, of Bicultural Mom and Multicultural Familia (where I am a contributor), she offered to design my new header. 

My new header!
 The design Chantilly came up with is just perfect!  I love the font.  I love that she included lemons and limes to match my background, along with photos of some of my favorite dishes, which I can change to reflect the season or my mood.  But my favorite detail has to be the chiles de arbol.  Yahualica, the small town where I live, is famous for having the best chiles de arbol in the world.

Chantilly also designed a new button to reflect the new look, that you can add to your blog.  You can grab the HTML code in the sidebar.


Thank you, Chantilly!  I love my new look!

Photobucket

My Blog Makeover

Today is the last day of May and that can only mean two things:
  1. The sticky, stuffy, can't breathe, eat or sleep heatwave is down to its last weeks.  Rain season should be here soon, offering relief from the unbearable, mid-90 degree temperatures that are the highest temps my small town has seen in 50 years (or so I'm told). 
  2. Pitaya season is also coming to an end.  (Hangs head in extreme sadness)   

What is a pitaya? 
For those of you that are unfamiliar with Pitayas, they are a delicious cactus fruit only available during the hottest month of the year, which happens to be May, where I live. 

Not to be confused with tunas (prickly pears), Pitayas are the sweet, sometimes sour, fruit of the organ pipe cactus, also known as a pitayo  
 
A Pitayo Cactus

This particular pitayo is located at El Rancho and is at least 100 years old.  During our Semana Santa camping trip, you could already see the pitayas starting to bloom.

Pitayo in bloom


Pitaya Picking 101
Now that you know what pitayas are, you may be wondering how the pitaya gets from the cactus to the market or in my case, my front door. 

Campesinos (farmers/farm workers), wake up before dawn to start picking pitayas.  You see, as the sun rises, the ripe pitayas open up, attracting the attention of the early birds looking for the proverbial worm.  But that old saying has it all wrong.  It should be, "The early bird catches the pitaya."

Pitayas are covered with hundreds of thin, little needles that serve to protect the fruit from birds and animals.  These espinas can make pitaya picking rather difficult.  Most campesinos use a rustic tool that they fashion out of dried reeds.  Locally this tool is called a chicole

Chicole hanging on the wall at El Rancho

Since pitayos can grow to be several meters high, most chicoles are very long.  The tip of the chicole is separated into three or four sections, creating a sort of nest or basket for a single pitaya to fit into snuggly.


Again, organ pipe cacti are very tall and it's darn near impossible for the campesinos who are standing underneath the cactus to see whether or not a certain pitaya is ripe.  A ripe pitaya can be easily plucked from the cactus when touched with the chicole.  Unripe pitayas can't be budged. 

The pitayas are then placed in a large basket and the small group of campesinos head to town in the back of a pick-up truck.  During the drive in to town, the campesinos remove all of the needles from the pitayas.

Basket full of freshly picked pitayas

The pitayas are then carefully stacked inside a large basket called a quilihua and are now ready to be sold to the public.

Quilihua filled with pitayas

Prices vary from town to town.  The average price here is about 5 or 6 pesos per pitaya, which isn't expensive considering all of the hard work involved.  Some pitayeros (pitaya vendors) prefer to sell door to door.  If you happen to be a preferred customer who buys large quantities of pitayas, like 30 to 40 at a time, the price drops down to 3 pesos per pitaya.  Not bad considering that they are delivered right to  my  your front door.   


How to eat a pitaya 
Underneath the hundreds of needles, pitayas are also protected by their cascara (peel).  To eat your pitaya, one must carefully remove the peel.  I say "carefully", because many times you'll find a stray needle or two in each pitaya.

Pitaya con cascara

Removing the cascara is our favorite part of sitting down to enjoy a pitaya.  We are always amazed to see the assortment of brightly colored fruits.  Pitayas come in various shades of yellow, orange, red, purple and pink.  The rarest of all is the white pitaya


As for texture, I liken pitayas to kiwis.  Maybe it's because of the tiny black seeds. 


Pitayas for the most part are sweet.  The first pitayas of the season tend to be more sour, as are the white ones.   It is this blogger's opinion that the yellow and orange pitayas are the sweetest and best tasting pitayas of all.


Pitayas are one of the rare fruits that are eaten without salt and lime juice.  Pitayas can also be used to make agua fresca, sorbet or almibar (syrup) for nieve raspada (snow cones).

And now you know just about everything there is to know about pitayas.


*Note: A very special Thank You to my Hubby, my suegro and my brother-in-law Gerry for sharing this valuable information that they learned from first-hand experience about pitayas.

Everything you ever wanted to know about Pitayas